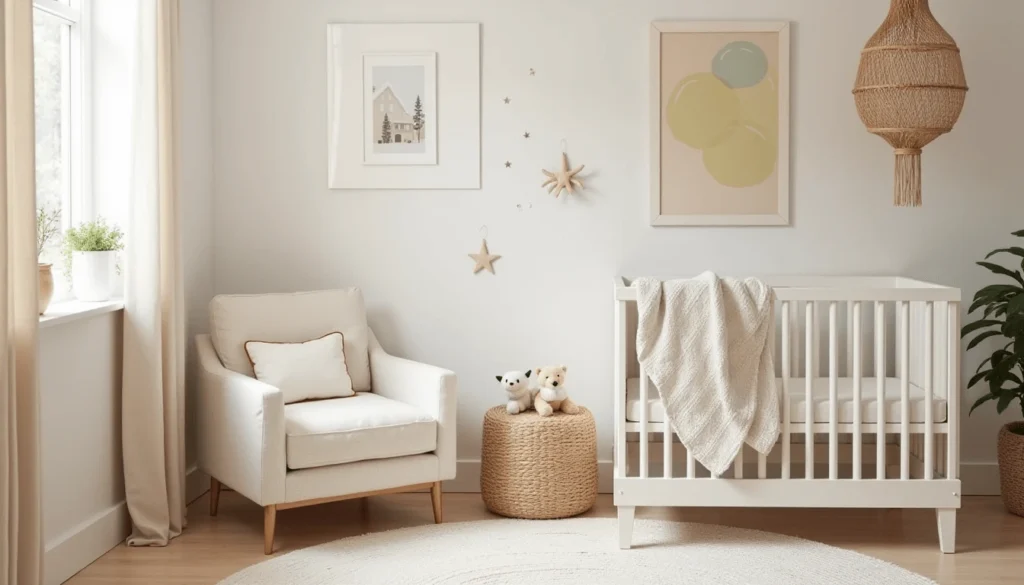
Creating a nursery is a meaningful step for expectant parents. This room will be where your baby sleeps, plays, and grows. A calm and practical space helps support daily routines and moments of bonding. With the right nursery design ideas, you can build a room that feels both personal and welcoming. Simple DIY ideas make it easy to add your own touch and create a space filled with care and comfort
Table of Contents
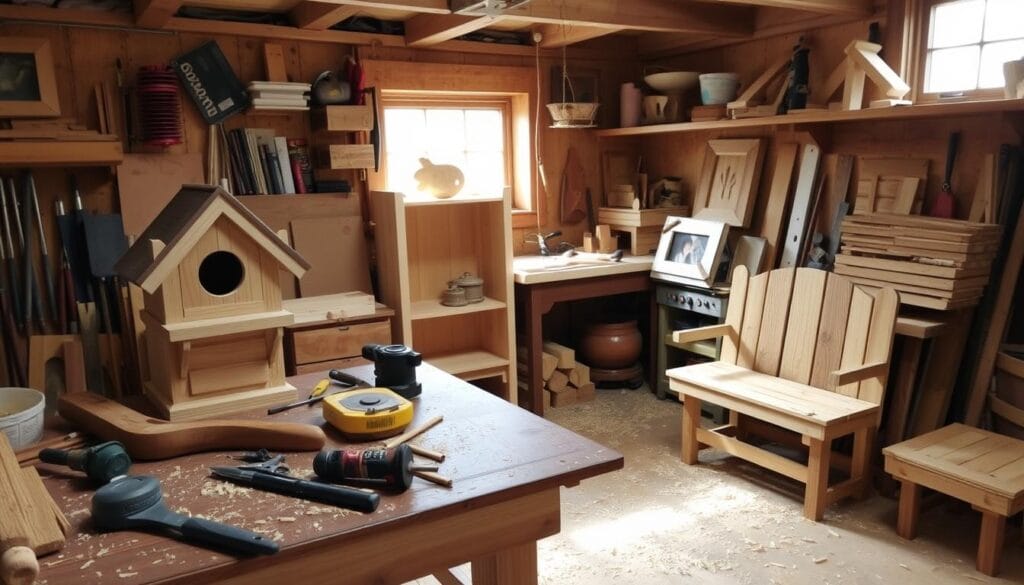
DIY nursery projects help improve both the look and function of your baby’s room. These projects let you add personal items and create custom decor that fits your needs. They also help you manage costs while adding meaningful details. With basic tools and a clear plan, you can turn any space into a warm and inviting nursery. Below are practical and creative nursery design ideas to help you build a space that feels right for your family.
Practical Nursery Design Ideas to Build a Functional Baby Room
1. Floating Shelves
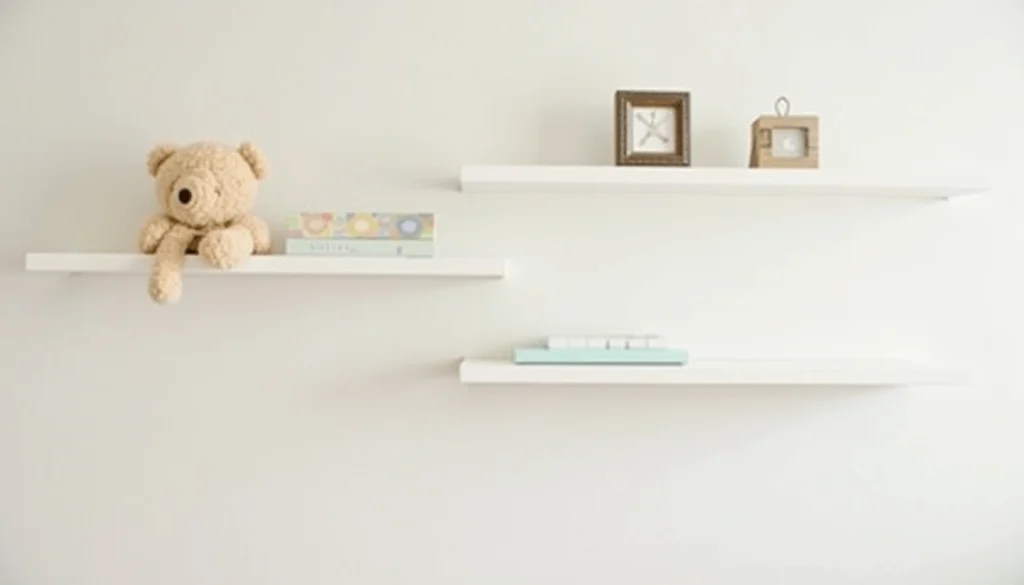
Floating shelves add both style and function to a nursery. They display books, toys, and keepsakes while saving floor space. You can match the shelves to your nursery’s theme or color scheme. Building them yourself lets you choose the right size and look for your needs.
Why Use Floating Shelves?
- Save Space: Ideal for small nurseries, they free up the floor.
- Easy to Customize: Choose size, shape, and color to match your room.
- Useful Display: Hold baby photos, plants, or children’s books.
Materials Needed:
- Wooden boards (like pine or oak)
- Strong brackets or mounting hardware
- Screws, wall anchors
- Paint or stain
- Sandpaper
- Drill, screwdriver, tape measure, level
Instructions:
- Measure and Plan: Decide shelf number, size, and placement.
- Prepare Wood: Cut and sand the boards.
- Finish: Paint or stain and let dry.
- Install Brackets: Mark and attach brackets using a level.
- Mount Shelves: Place boards on brackets and secure.
- Decorate: Add books, toys, or keepsakes. Avoid clutter.
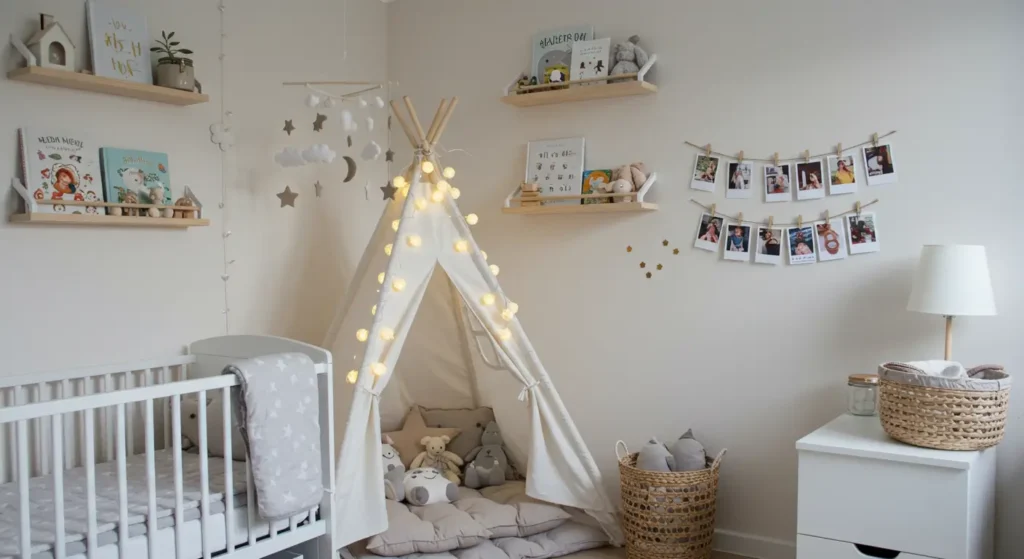
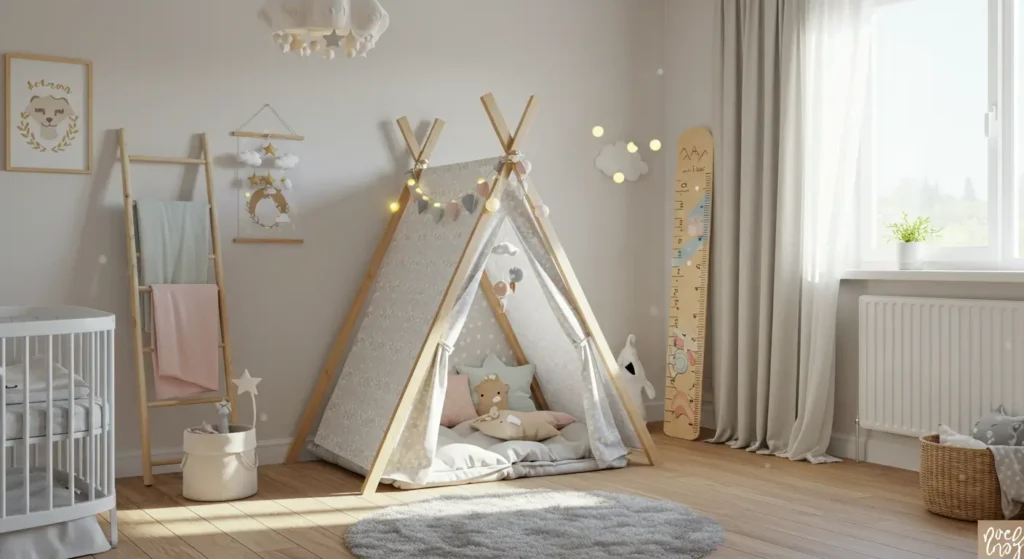
2. Teepee Tent
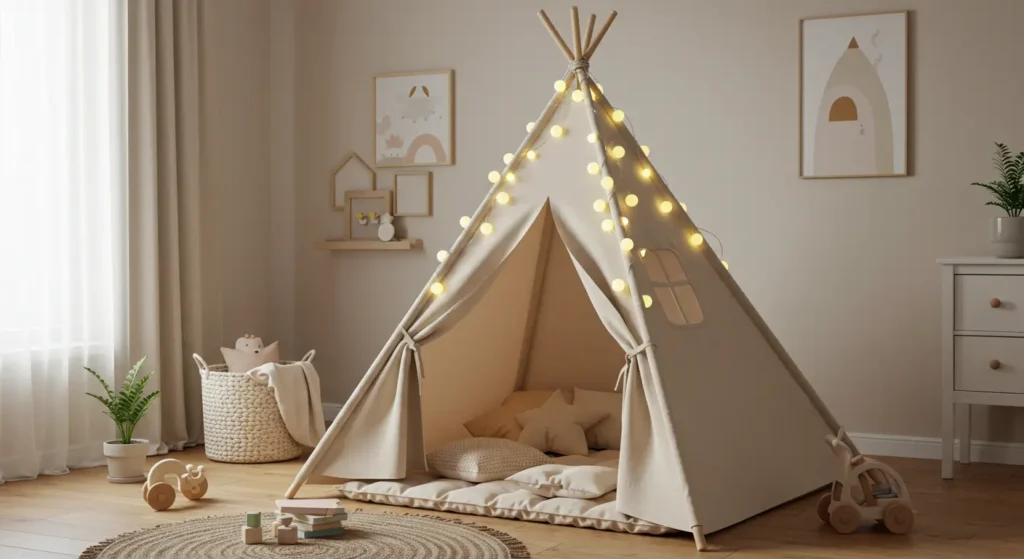
A DIY teepee tent adds a fun and cozy spot in the nursery. It creates a space for your child to play, read, or relax. You can build it to match your nursery’s style and size.
Why Use a Teepee Tent?
- Multi-Purpose: Works as play space and decor.
- Supports Learning: Encourages reading and independent play.
- Easy to Personalize: Choose colors and fabric that fit your room.
Materials Needed:
- 4–5 wooden rods (5–6 feet)
- Fabric (cotton, canvas, or muslin)
- Twine or rope
- Paint (optional)
- Decorative items (pompoms, decals, etc.)
Instructions:
- Build Frame: Cross the rods at the top and tie them with rope.
- Cut Fabric: Measure and cut fabric, leaving an opening. Hem the edges.
- Attach Fabric: Wrap it around the frame and secure with ties or adhesive.
- Decorate: Paint the rods or add decals and your child’s name.
- Add Comfort: Place cushions, a blanket, and lights inside.
3. DIY Nursery Mobile
A nursery mobile adds both style and function to your baby’s crib area. It offers gentle movement and visual interest. Making one yourself lets you match the design to your room and add a personal touch.
Why Make a DIY Nursery Mobile?
- Custom Look: Pick shapes and colors that match your nursery.
- Saves Money: DIY can cost less than store-bought options.
- Stimulates Baby: Movement and colors support early focus and development.
Materials Needed
- Embroidery hoop
- String or thread
- Felt or paper shapes (clouds, stars, animals, etc.)
- Glue or needle and thread
- Scissors
- Optional: beads, pompoms, ribbons
Steps to Follow
- Cut Shapes: Use felt or paper to cut simple shapes. Add layers or small stitched details if needed.
- Attach Strings: Tie or glue strings to the shapes. Use different lengths for variety.
- Connect to Hoop: Tie the strings to the hoop and space them out evenly.
- Check Balance: Hold the hoop at the center. Adjust the strings so it hangs straight.
- Hang the Mobile: Tie 3–4 strings to the hoop and bring them to a single loop at the top.
- Decorate the Hoop: Add ribbon, paint, or beads to match your theme.
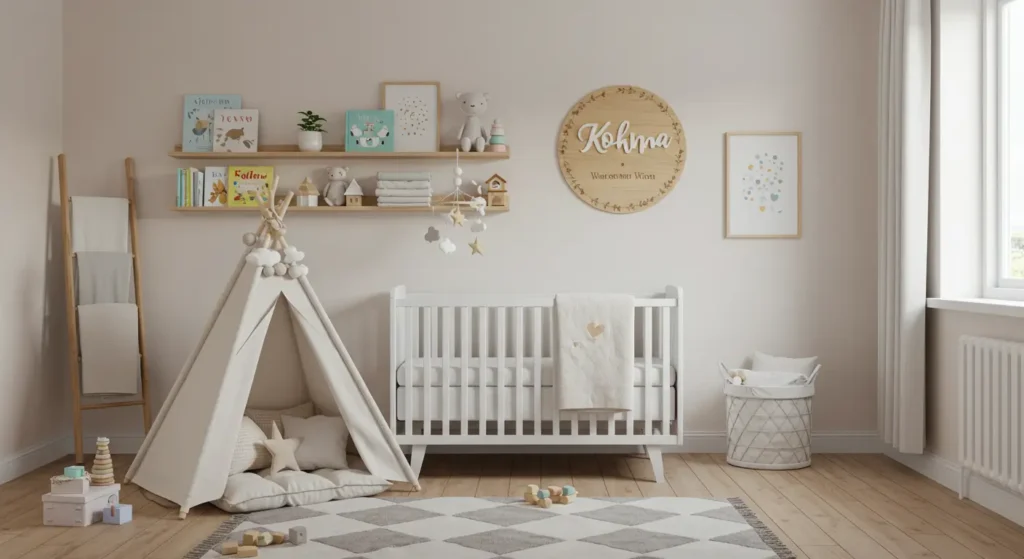
4. Personalized Name Sign
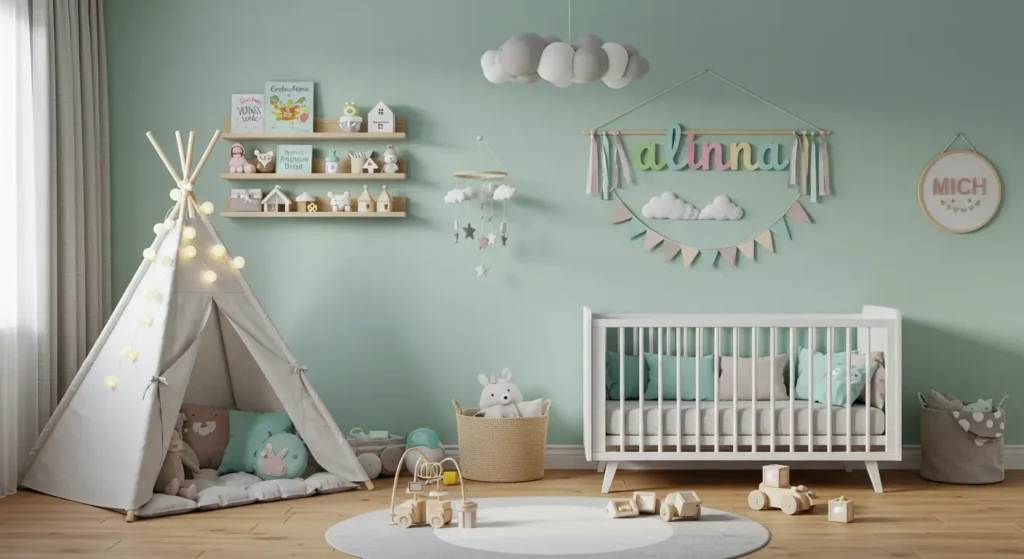
A personalized name sign adds charm and meaning to your baby’s nursery. You can place it above the crib, on the wall, or on the door. This project lets you include your child’s name in the decor, making the space feel special and personal.
Why Make a Personalized Name Sign?
- Custom Look: Choose colors, fonts, and designs that match your nursery.
- Meaningful Decor: The name sign becomes a lasting keepsake.
- Budget-Friendly: DIY signs are often cheaper than store-bought ones.
Materials Needed
- Wooden letters
- Paint or stain
- Brushes or sponges
- Adhesive strips or nails
- Optional: glitter, faux flowers, decals, ribbons
- Sandpaper
Steps
- Choose Letters: Pick letters to spell your baby’s name in a size and font you like.
- Sand Letters: Smooth any rough edges with sandpaper.
- Paint or Stain: Apply paint or stain evenly. Let dry.
- Add Details: Decorate with glitter, decals, or ribbon (optional).
- Plan Layout: Arrange the letters on the floor to check spacing.
- Attach to Wall: Use adhesive strips or nails to hang them. Make sure they are level.
- Decorate Area: Add lights, prints, or a painted background around the sign.
5. DIY Blanket Ladder
A DIY blanket ladder is a simple way to add both storage and style to your nursery. It keeps blankets organized, saves space, and adds visual interest. This project is easy to build and adjust to your preferred color and size.
Why Make a Blanket Ladder?
- Space-Saving: Stores blankets neatly without using floor space.
- Easy Access: Keeps blankets within reach.
- Decorative: Adds a vertical design element that matches most nursery styles.
Materials Needed
- Wooden boards or dowels (smooth for safety)
- Screws or nails
- Wood glue
- Sandpaper
- Paint or stain
- Measuring tape and saw
Step-by-Step Instructions
- Plan the Ladder: Decide the height and number of rungs. A 5-foot ladder with 4–5 rungs is a common size.
- Cut the Wood: Cut two long side pieces and several shorter rungs. Sand all edges.
- Assemble: Lay the sides flat. Space rungs evenly (about 10–12 inches apart). Use glue to attach them.
- Secure: Add screws or nails at each joint for strength.
- Paint or Stain: Apply your chosen finish and let it dry fully.
- Set Up: Lean the ladder against the wall. Drape blankets or swaddles neatly over the rungs.
6. Growth Chart
A DIY growth chart is a simple way to track your child’s height and decorate the nursery. It creates a lasting keepsake and adds a personal touch to the room.
Why Make a Growth Chart?
- Personal Record: Track growth milestones year by year.
- Decorative: Adds style and warmth to a wall or corner.
- Interactive: Involves the family in fun, shared updates.
Materials Needed
- Wooden board (6–7 feet)
- Measuring tape
- Paint or markers
- Stencils or stickers (optional)
- Sandpaper
- Wall hooks or brackets
Steps
- Sand the Board: Smooth all surfaces and clean off dust.
- Mark Heights: Use a tape measure to add inch and foot marks. Start a few inches from the bottom.
- Add Designs: Paint lines, numbers, and decorations that match the nursery.
- Seal the Chart: Apply a clear coat to protect the surface.
- Hang It: Attach hooks or brackets and mount it at the correct height on the wall.
In Conclusion, These DIY nursery projects help you create a space that feels personal and welcoming. Using simple materials and clear steps, you can add both function and style to the room. Each project brings comfort and character, making the nursery a warm place for your baby to grow.