Three months ago, I was standing in my bland rental bathroom, staring at those soul-crushing builder-beige walls that seem to haunt every apartment complex in America. You know the ones—they’re not quite white, not quite tan, just aggressively boring. I’d been putting off doing anything about them because, honestly, the whole wallpaper thing seemed like a massive commitment that could end badly (and expensively) when I moved out.
But then my neighbor showed me her powder room transformation using peel-and-stick wallpaper, and I practically had to pick my jaw up off the floor. It looked professionally done, took her one weekend, and cost less than $60. More importantly? Her landlord loved it so much that he asked if she’d do the other units.
That conversation changed everything for me. I’ve since experimented with removable wallpaper in four different rooms, made some rookie mistakes (we’ll get to those), and discovered why this stuff is absolutely perfect for us renters who want beautiful spaces without the security deposit anxiety.
What Makes Removable Wallpaper Different
Let me start by clearing up something that confused me initially—not all “removable” wallpaper is created equal. There are actually three main types, and knowing the difference saved me from a potential disaster in my kitchen.
Peel-and-stick wallpaper is what most of us think of first. It comes with adhesive already applied, and you literally peel off the backing and stick it to your wall. I’ve found this works best on smooth surfaces—my bathroom walls were perfect, but the textured walls in my bedroom were trickier.
Self-adhesive wallpaper is similar but usually requires you to wet the adhesive to activate it. Honestly, I haven’t tried this type because the peel-and-stick has worked so well for my projects.
Then there’s repositionable wallpaper, which you can move around during installation. This stuff is a lifesaver if you’re a perfectionist like me—I repositioned the same strip in my entryway about six times before getting the pattern alignment just right.
Real Talk: Traditional wallpaper involves paste and precise measurements and usually requires professional removal that could damage your walls. I learned this the hard way in college when I tried to remove some old wallpaper from my dorm—let's just say I lost part of my deposit that year.
Finding the Best Removable Wallpaper Brands
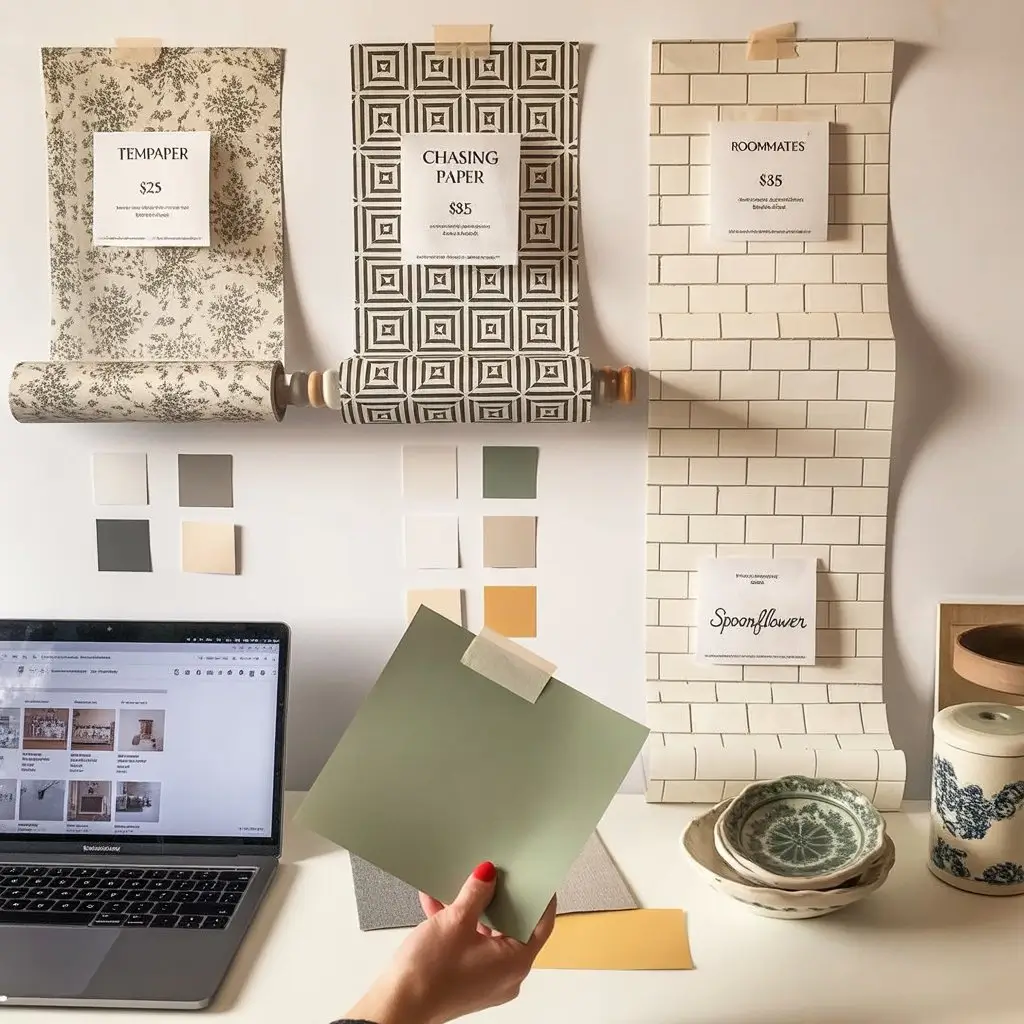
After trying several brands over the past few months, I’ve got some strong opinions about what’s worth your money. My current favorite is Tempaper—their adhesive is strong enough to stay put but comes off cleanly. I used their floral design in my powder room, and it’s held up beautifully despite the humidity.
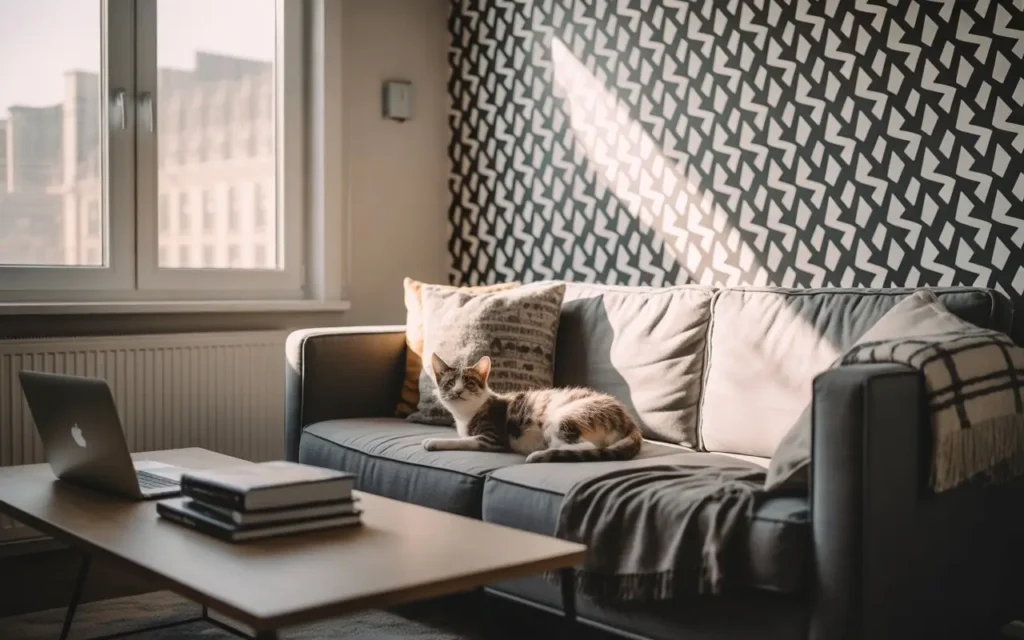
Chasing Paper caught my eye because of their bold, modern designs. I splurged on one of their geometric patterns for an accent wall in my living room (around $85 for enough to cover about 32 square feet), and it completely transformed the space. The quality is definitely premium—thicker paper that doesn’t tear easily during installation.
For budget-conscious projects, RoomMates has been my go-to. I picked up some of their subway tile-look wallpaper at Target for about $25, and it gave my kitchen backsplash area a completely new look. Sure, it’s not as thick as the pricier options, but for a rental kitchen that I’m not planning to renovate fully, it’s perfect.
Spoonflower is amazing if you want something truly unique—they print custom designs on removable wallpaper. My friend ordered a pattern that matched her vintage dishes, and it looks like it was designed specifically for her space (which, technically, it was).
Money-Saving Tip: Most brands sell sample sizes for under $5. I always order samples first now, especially since colors can look different on your actual walls than they do on your computer screen. I learned this lesson with a "sage green" that turned out way more yellow than I expected.
Choosing the Right Style for Your Space
This is where I had to learn some hard lessons about scale and lighting. My first attempt was a bold, large-scale botanical print in my bedroom. It looked stunning in the photos online, but in my small 10×12 room, it felt overwhelming. I ended up moving that wallpaper to my dining nook, where the larger scale actually works perfectly.
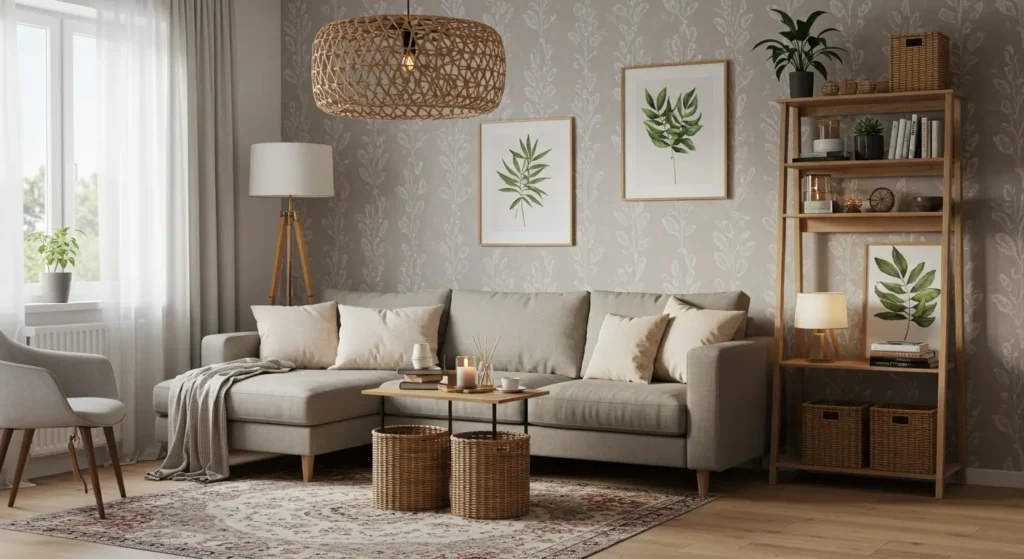
Now I follow what I call the “room personality” rule. Quiet spaces like bedrooms get subtle patterns—I’m currently loving soft geometric designs or textured looks that add interest without being distracting. Social spaces like living rooms can handle bolder statements. My current living room accent wall has a dramatic black and white stripe that makes the whole room feel more sophisticated.
Lighting is huge too. That sage green I mentioned earlier? It looked completely different under my apartment’s fluorescent bathroom light versus the warm LED bulbs in my living room. I’ve started taking sample pieces and taping them up in different areas throughout the day to see how they look in morning light versus evening light.
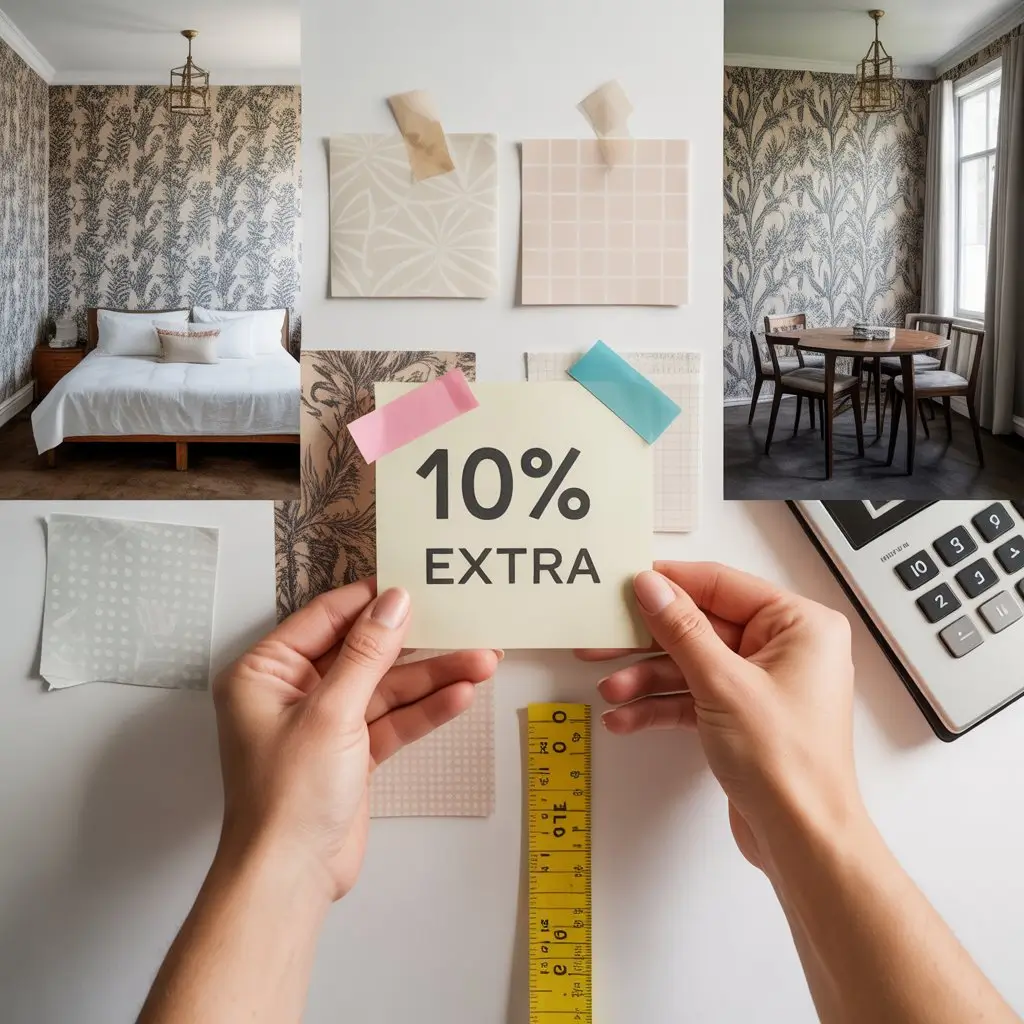
For measuring, I learned to always add about 10% extra. My bathroom project needed exactly 2.5 rolls based on my calculations, but I’m glad I ordered 3. There’s nothing worse than running out of wallpaper when you’re in the groove of installation, especially if you’re working with a discontinued pattern.
Installation Tips That Actually Work
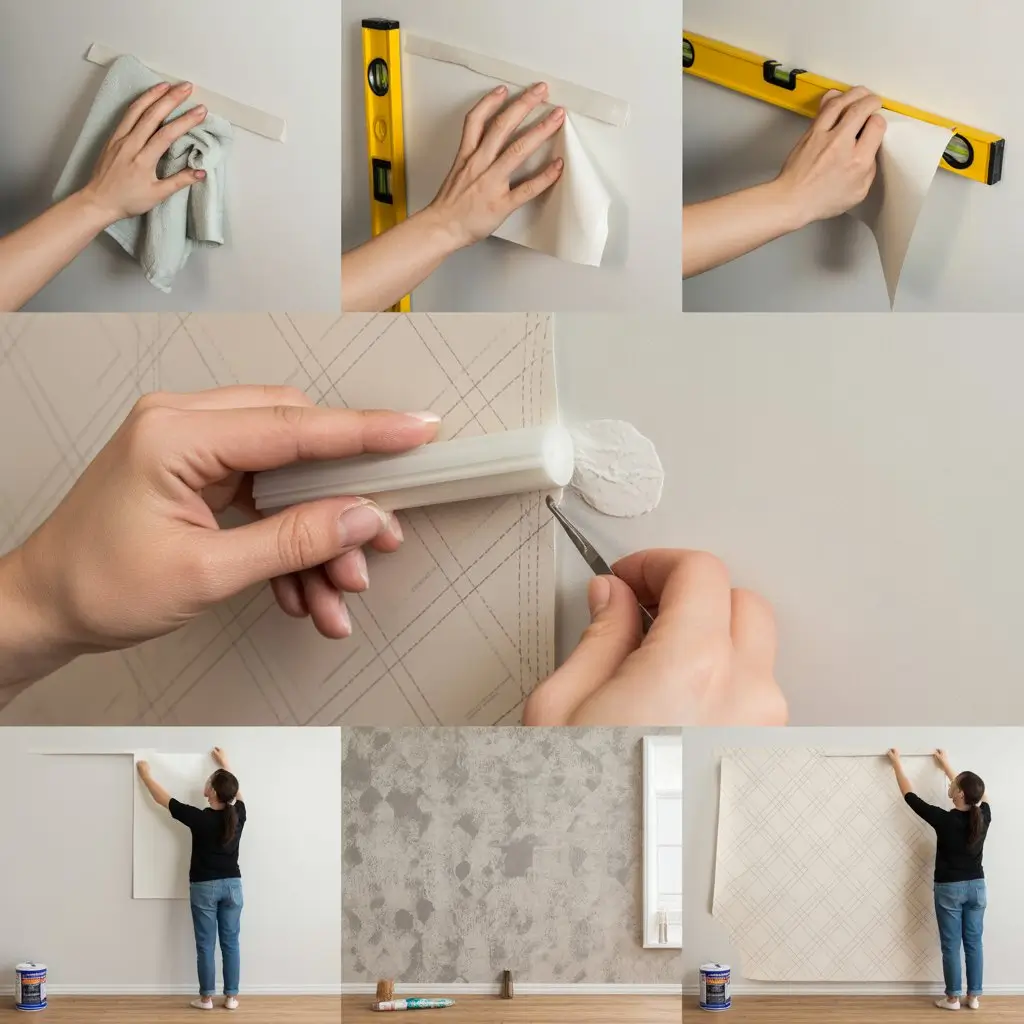
Let me save you from my rookie mistakes. For the first project, I didn’t clean my walls properly because they “looked” clean. Big mistake. Any dust or residue prevents proper adhesion, and I had corners peeling within a week. Now I always wipe down walls with a slightly damp cloth and let them dry completely before starting.
Here’s my current process: I start by finding my center point and working outward, which helps keep patterns symmetrical. I use a level for the first strip—trust me, even being slightly off throws everything else crooked, and it becomes really obvious once you step back.
The smoothing technique took me a few tries to get right. I use a plastic smoothing tool (came with my first wallpaper order) and work from the center outward, pushing air bubbles toward the edges. If you get stubborn bubbles, a tiny pinhole with a needle lets the air out, and you can smooth it down.
One thing I wish someone had told me—peel off only a small section of backing at a time. On my first attempt, I got excited and peeled off the entire backing at once. Wrestling with a sticky 10-foot strip of wallpaper while trying not to let it fold over on itself is not fun.
Texture Challenge: If you have textured walls like those popcorn or orange peel finishes, removable wallpaper can still work, but you might need to prime first. I used a primer specifically designed for textured surfaces in my bedroom, and it created a smooth base that the wallpaper adhered to beautifully.
Creative Applications Beyond Accent Walls
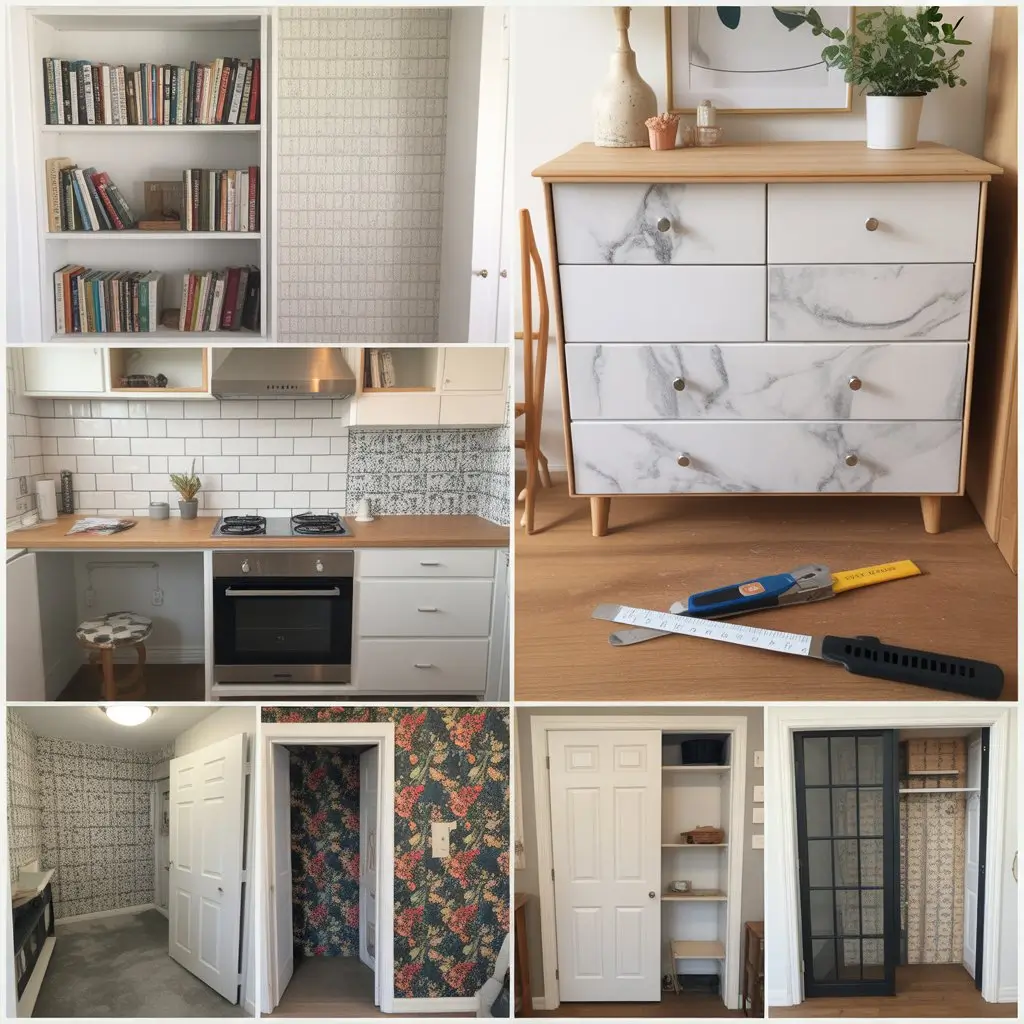
Once I got comfortable with basic wall application, I started getting creative. My latest project was lining the back of my bookshelf with a subtle pattern—it makes all my books and decorative objects pop, and it only used about half a roll.
I’ve also used removable wallpaper to update furniture. My old IKEA dresser got a makeover with some marble-look wallpaper on the drawer fronts. It took maybe an hour and completely changed the piece. The key is using a craft knife to trim carefully around hardware.
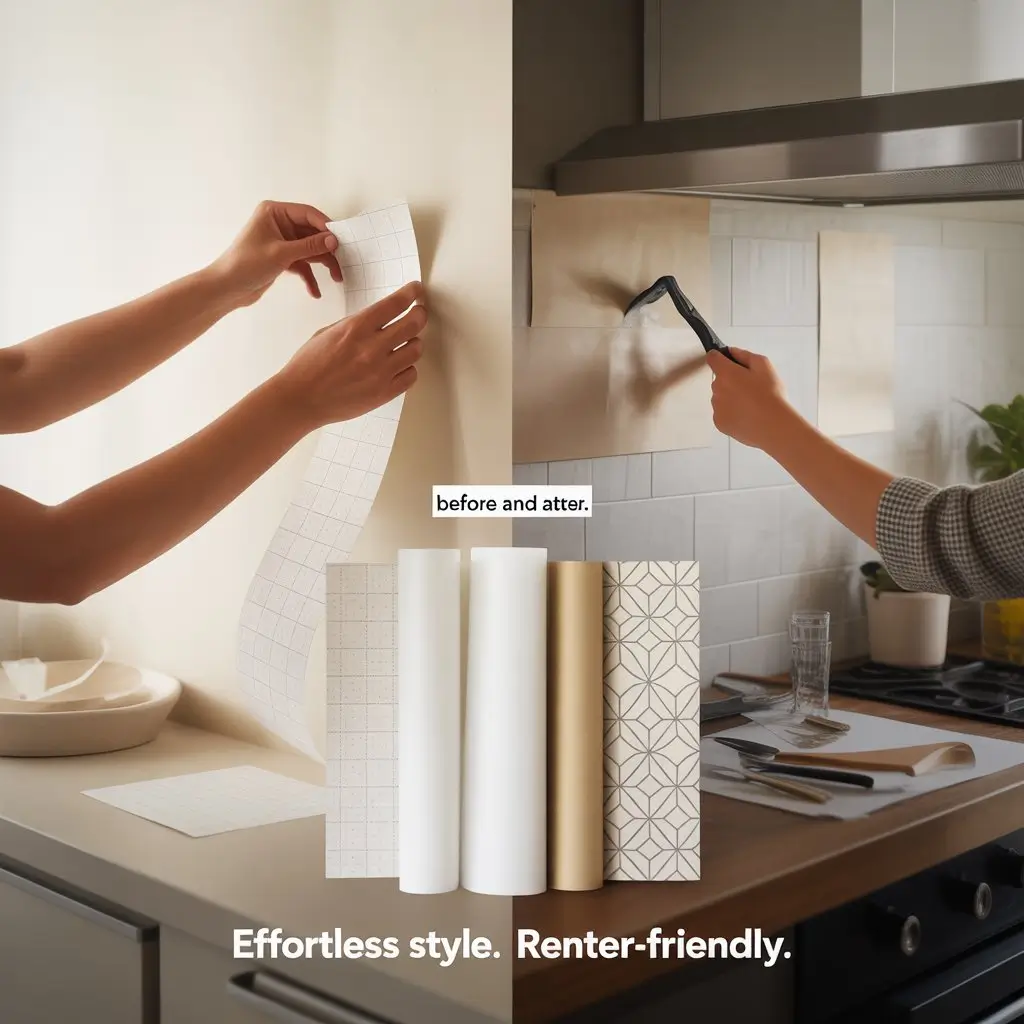
Kitchen backsplashes are perfect for renters. I created a subway tile look above my stove area that’s held up great despite cooking splatters. It’s not a true backsplash replacement, but it gives the visual impact for a fraction of the cost and effort.
My most ambitious project was wallpapering the inside of my front door. Sounds weird, but it creates this amazing “wow” moment when you close the door and see this beautiful pattern. Guests always ask about it.
Don’t overlook small spaces—powder rooms, closets, or even the area inside glass cabinet doors. These spots are perfect for trying bolder patterns that might be too much on a full wall.
Budget Breakdown and Where to Shop
Let me be real about costs because I’ve definitely spent more than I planned on some projects. Basic removable wallpaper ranges from about $20 to $40 per roll, with each roll typically covering 20-25 square feet. Premium brands like Chasing Paper or custom prints from Spoonflower can run $60-100 per roll.
My powder room makeover cost about $55 total—two rolls of Tempaper plus a smoothing tool. My living room accent wall was closer to $85 because I went with a premium pattern. Compare that to hiring someone to paint an accent wall with a complex design, and it’s actually pretty reasonable.
I’ve found the best deals shopping online directly from manufacturers—they often have sales and discontinued patterns at significant discounts. Target and Home Depot carry RoomMates and a few other brands if you want to see samples in person first.
Amazon has the biggest selection, but I’ve learned to read reviews carefully. Some sellers have inconsistent quality, and returns can be tricky with wallpaper.
Budget Stretching: Consider using removable wallpaper strategically rather than covering entire rooms. One accent wall or a single feature, like behind a headboard, can have a huge visual impact for much less money.
Maintenance and Removal
The maintenance is honestly minimal. I spot clean with a barely damp cloth when needed, and it’s held up well. The wallpaper in my kitchen area gets the most abuse from cooking, and it still looks great after four months.
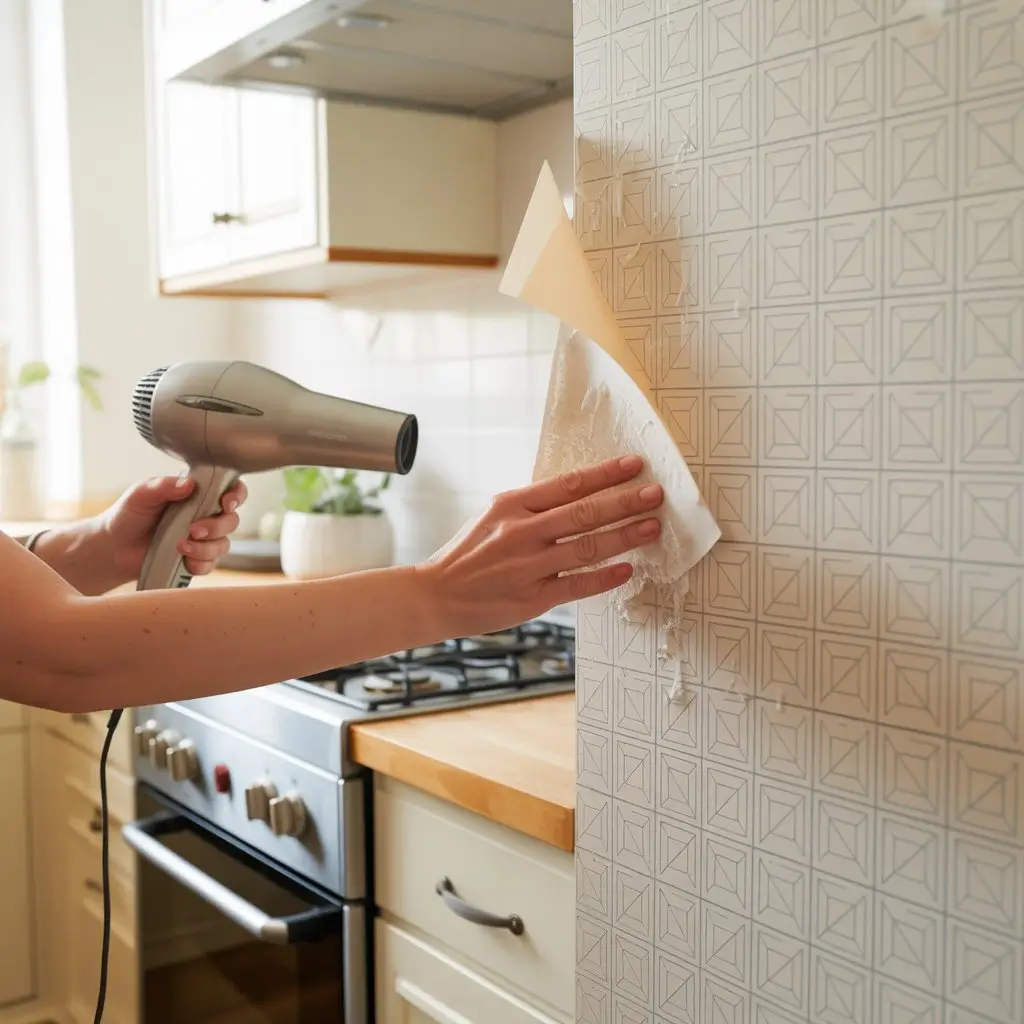
I haven’t had to remove any yet (still loving all my current installations), but I did test a corner piece before committing to my first project. It peeled off cleanly without leaving residue or damaging the paint underneath. That said, I’ve read that removal works best when the wallpaper is relatively new—letting it sit for years might make it more stubborn.
The key is pulling slowly and consistently, working from corner to corner. If you encounter resistance, a hair dryer on low heat can help warm the adhesive slightly.
Why This Changed My Rental Game
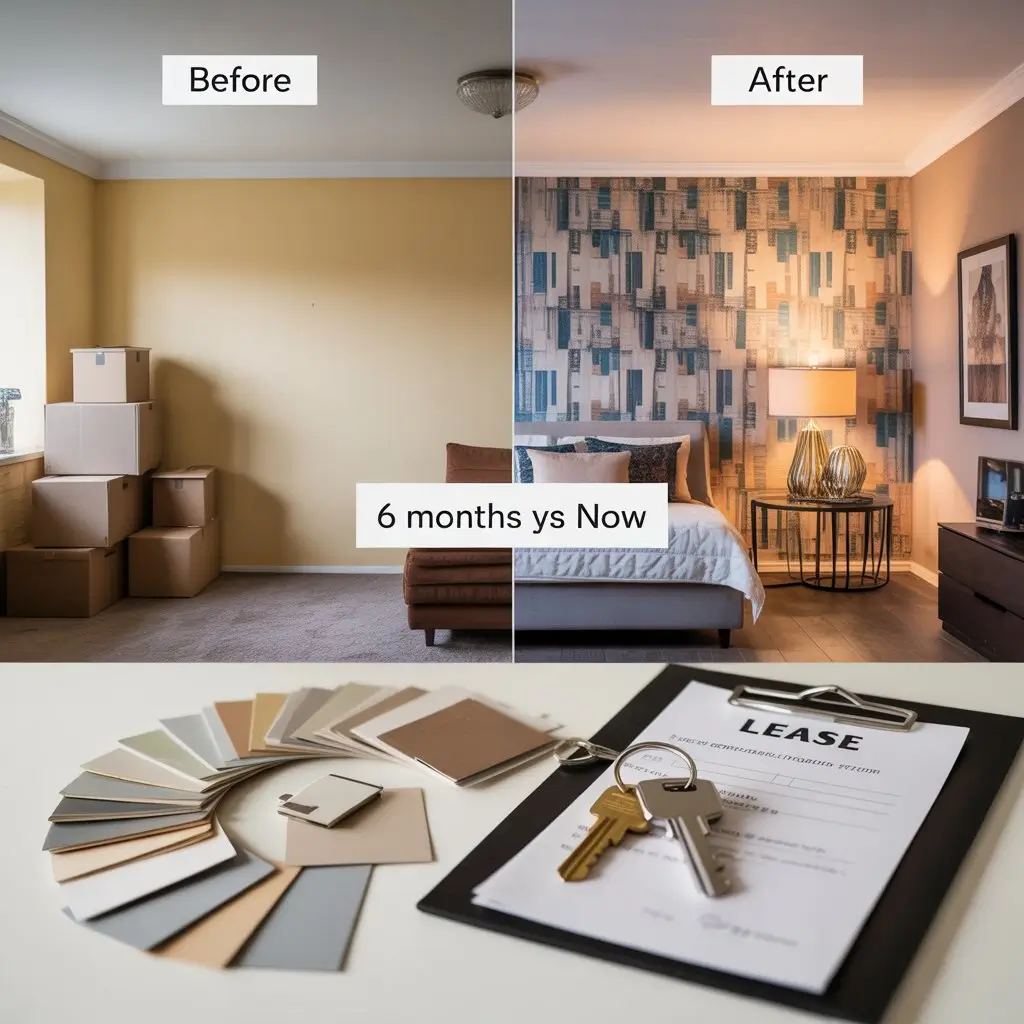
Six months ago, I was living with boring beige walls and telling myself I’d “do something eventually.” Now I have a home that feels completely personalized and reflects my style—all while staying within my rental agreement and protecting my security deposit.
The best part? When I move to my next place, I can take some of these wallpapers with me or easily remove them to get my full deposit back. It’s the perfect solution for those of us who refuse to settle for bland rental walls but also can’t commit to permanent changes.
If you’re sitting there staring at your own boring walls and thinking “maybe someday,” I’d encourage you to start small. Order a sample or two; try a powder room or closet first. You might surprise yourself with what a difference some beautiful wallpaper can make.
What room in your rental is crying out for a wallpaper makeover? I’d love to hear about your projects—the successes and the learning experiences. After all, we’re all figuring this out together, one peel-and-stick strip at a time.
Ready to Transform Your Rental?
Start your wallpaper journey today! I’ve created a simple action plan to help you get started without the overwhelm:
- Pick your test room—Choose a small space like a powder room or closet where you can experiment without major commitment.
- Order samples—Get 2-3 sample squares from different brands (Tempaper, RoomMates, or Chasing Paper are my top picks) to see how they look with your lighting.
- Measure twice, order once—Calculate your square footage and add that 10% buffer I mentioned.
- Start your weekend project—set aside 3-4 hours for installation and enjoy the process!
Have questions about your specific rental situation or want to share your before-and-after photos? Drop me a comment below—I reply to everyone and love seeing how these projects turn out!