So there I was last September, staring at my sad, bare mantel while sipping my first pumpkin spice latte of the season (yes, I’m one of those people). The thing looked like it was having an identity crisis—a few random picture frames from summer and that weird brass candlestick I kept meaning to replace. I knew fall decorating was calling my name, but honestly? I was a little intimidated by all those Pinterest-perfect mantels that looked like they cost more than my monthly grocery budget.
That’s when my neighbor Carol knocked on my door with an armload of branches she’d “rescued” from her yard cleanup. “Want to make something beautiful together?” she asked. And you know what? That afternoon changed everything I thought I knew about fall mantel decorating. We created something absolutely magical using mostly free materials and a few strategic purchases from Target (dangerous territory for my wallet, as always).
I’ve been decorating mantels for about twelve years now—ever since Mark and I bought our first house with an actual working fireplace (I may have squealed when the realtor showed us that room). Over the years, I’ve learned that creating a cozy autumn vibe isn’t about having the perfect pieces or spending a fortune; it’s about embracing the essence of the season. It’s about layering textures, playing with heights, and honestly? Embracing a little bit of beautiful imperfection.
The Foundation: Understanding Fall Mantel Magic
The first time I attempted fall decorating, I basically threw some orange candles on my mantel and called it done. Mark walked by, paused, and gently suggested it looked like “Halloween threw up on our fireplace.” Ouch. But he wasn’t wrong.
A true fall mantel isn’t just about adding autumn colors—it’s about creating a whole mood that makes you want to curl up with a good book and a steaming mug of cider. I learned this the hard way after three years of mediocre seasonal displays that never quite captured that cozy, welcoming feeling I was going for.
The key principles I’ve discovered (through trial and plenty of error) are layering different textures, creating visual triangles with varying heights, and always including at least one element that feels collected rather than purchased. That last one is crucial—it’s what makes the difference between “decorated” and “lived-in.”
Choosing Your Autumn Color Palette (Beyond Basic Orange)
Okay, real talk for a second. When I first started decorating for fall, I thought it was all about orange, orange, and more orange. My poor living room looked like a pumpkin patch exploded in it. I’ve since learned that the most beautiful autumn displays actually use orange as an accent rather than the star.
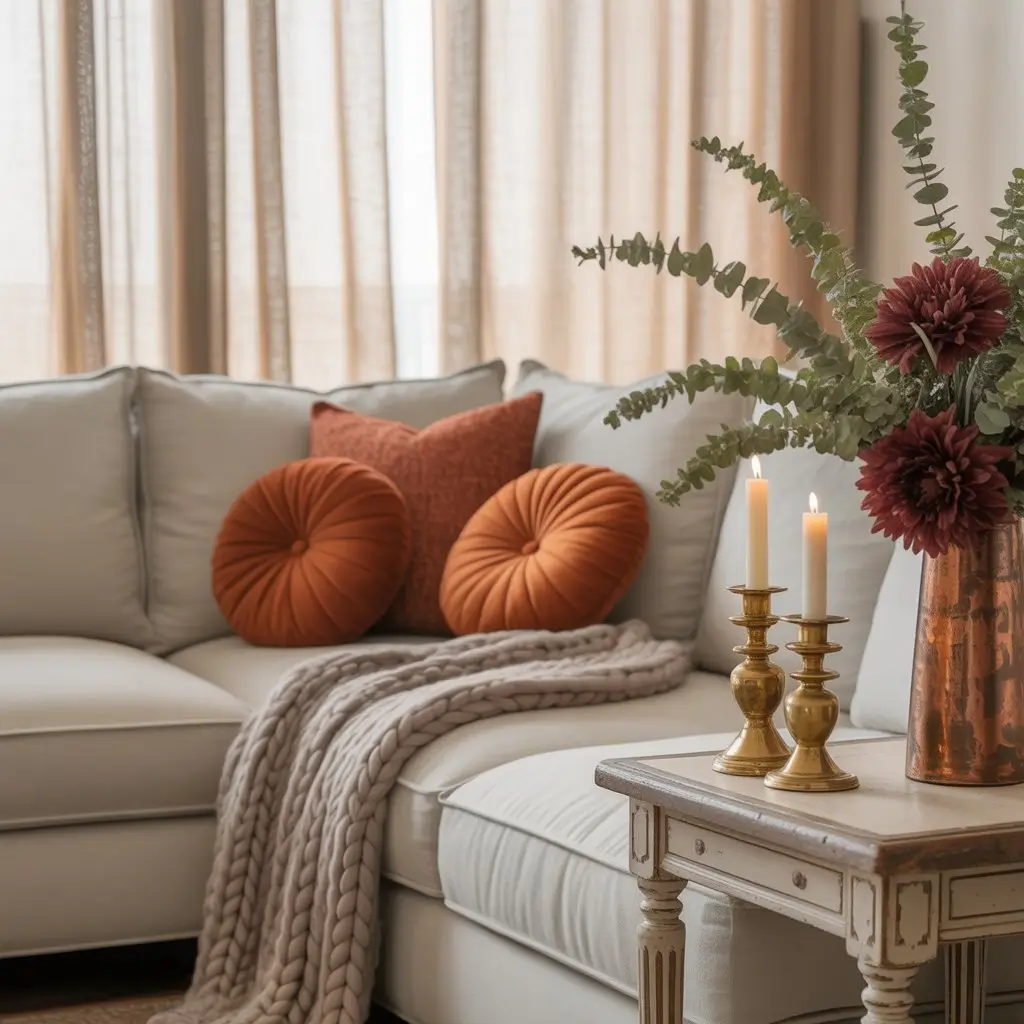
These days, my go-to fall palette starts with warm neutrals—think creamy whites, soft grays, and those gorgeous mushroom tones that work year-round. Then I layer in deeper colors: that perfect rust orange (I’m obsessed with the color of persimmons), burgundy that’s almost wine-colored, and sage green that reminds me of dried eucalyptus.
The secret ingredient? Metallics. I used to skip these entirely, thinking they were too fancy, but a few brass candlesticks or copper accents add such richness to the whole display. Last year, I found these amazing vintage brass deer at an estate sale for $8 each (Lisa and I were there at 7 AM sharp—estate sale veterans know you’ve got to get there early).
Here’s something I learned from a decorator friend: use the 60-30-10 rule. About 60% of your colors should be neutral, 30% your main autumn hue, and 10% a pop of something unexpected. This year, I added deep plum through some silk dahlias, and it made everything feel more sophisticated and less “craft store display.”
Incorporating Natural Elements (Without the Mess)
I have a confession: I used to be terrified of using real natural elements because I thought they’d attract bugs or make a mess. Now I use a mix of real and faux elements, and I’ve learned some tricks to make the real stuff last longer.
For branches, I pick them up from my yard after windstorms (free!), then soak the cut ends in a bleach solution for about 10 minutes before arranging them. This prevents any unwanted critters and helps them last longer.
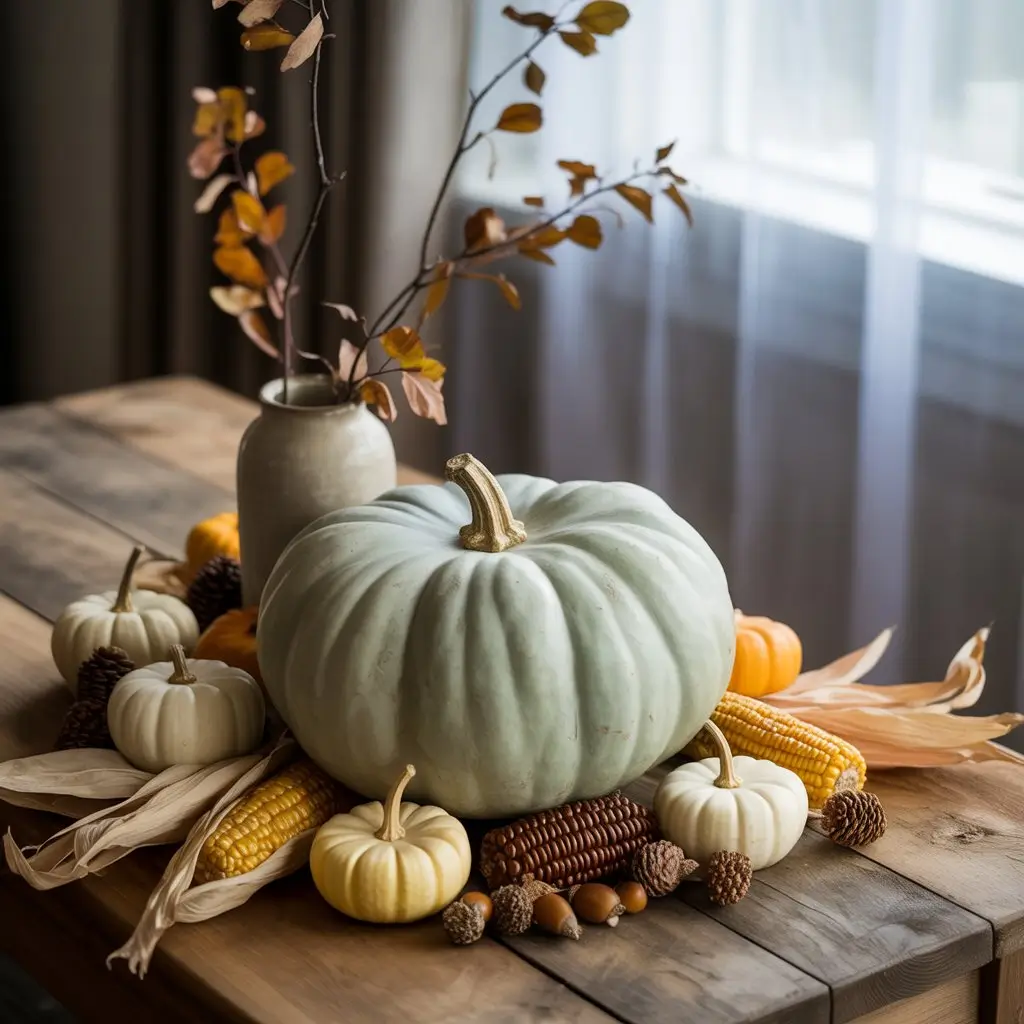
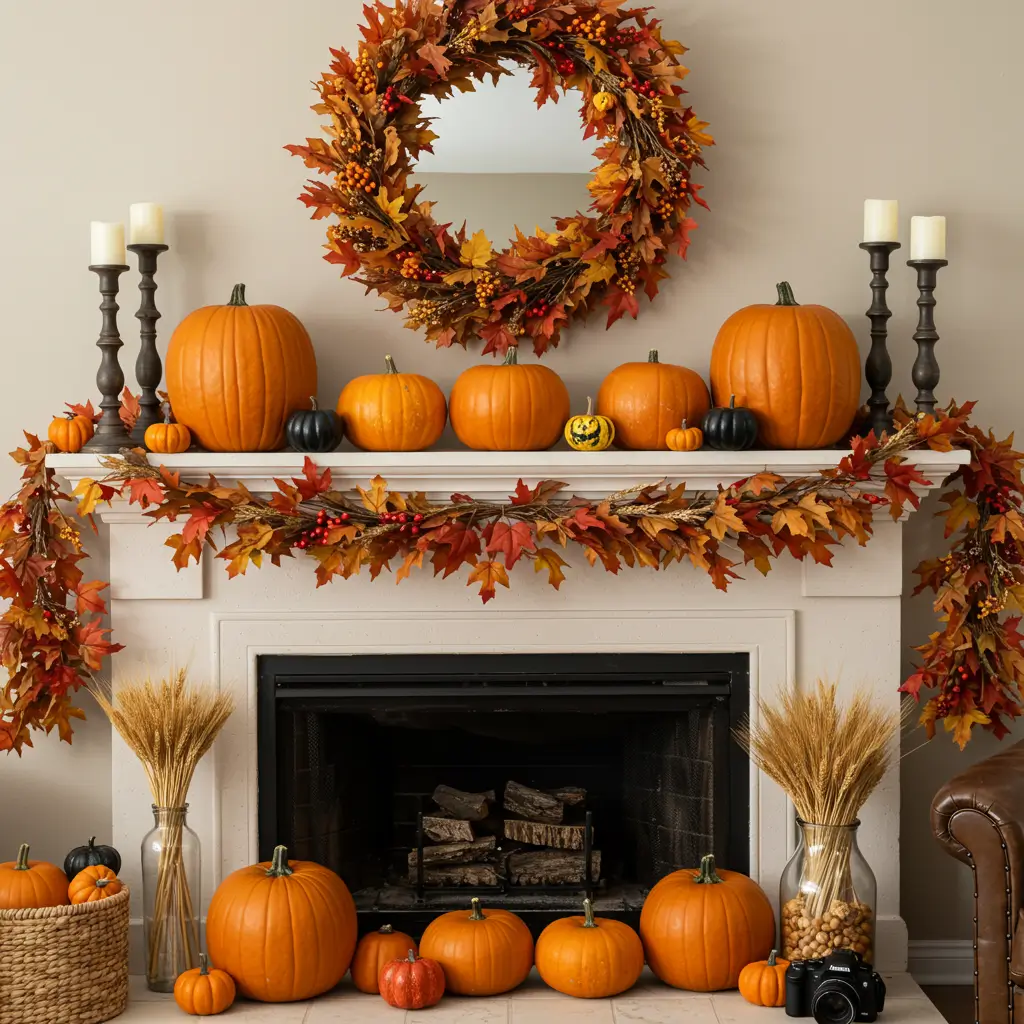
Pumpkins are my weakness—I probably buy way too many each fall. But I’ve learned to choose a mix of sizes and colors rather than just grabbing the biggest orange ones. Those pale green “Jarrahdale” pumpkins? Absolutely stunning, and they last forever. The tiny white ones are perfect for filling in gaps.
For longevity, I spray real gourds and pumpkins with a clear acrylic sealer (Krylon is my go-to brand). It adds maybe 15 minutes to my decorating process but extends their life by weeks. Pinecones, acorns, and dried corn husks are practically indestructible if you bake them first. Yes, I bake my pinecones—200 degrees for about 20 minutes kills any insects and opens them up beautifully.
My Favorite DIY Projects for Personal Touches
This is where the real magic happens, and honestly, where I have the most fun. The pieces that get the most compliments are always the ones I’ve made myself.
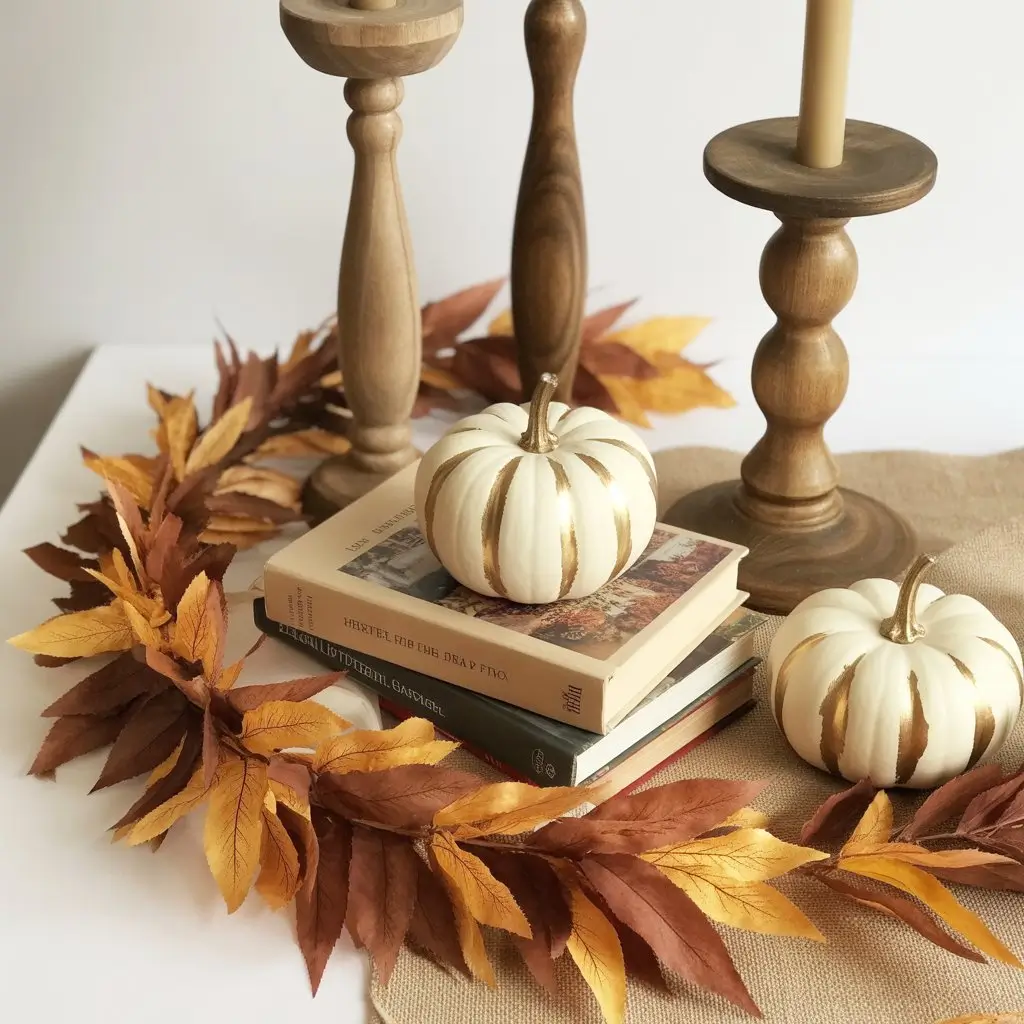
My signature project is a fall garland made from real leaves that I preserve with glycerin. I buy it at the pharmacy (about $3 for enough to last several seasons), mix it with water, and let the leaves soak for a few days. The color stays rich, and they feel like leather when they’re done.
Another project I’m obsessed with? Decorating plain white pumpkins with metallic leafing. I use the Rub ‘n Buff wax finish in Antique Gold—it’s about $4 a tube and goes so far. I just rub it on with my fingers (wear gloves unless you want gold fingernails for days), and it creates this gorgeous, subtle shimmer.
For height variation, I make my own candlesticks using different-sized wooden spools from the craft store. I stack them, glue them together with Gorilla Glue, then paint or stain them to match my color scheme. They cost maybe $2 each to make versus $20+ for similar ones in stores.
The project that always gets the most comments? My autumn “books.” I take old hardcover books from garage sales, cover them with fall-themed scrapbook paper, and stack them as risers for other decorations. They add height, color, and that collected-over-time feel that makes a display look authentic.
Styling Secrets: Creating the Perfect Layout
Here’s where I see most people struggle—they collect beautiful pieces but don’t know how to arrange them in a way that looks intentional rather than random. I used to line everything up like little soldiers across my mantel, and it looked about as exciting as you’d imagine.
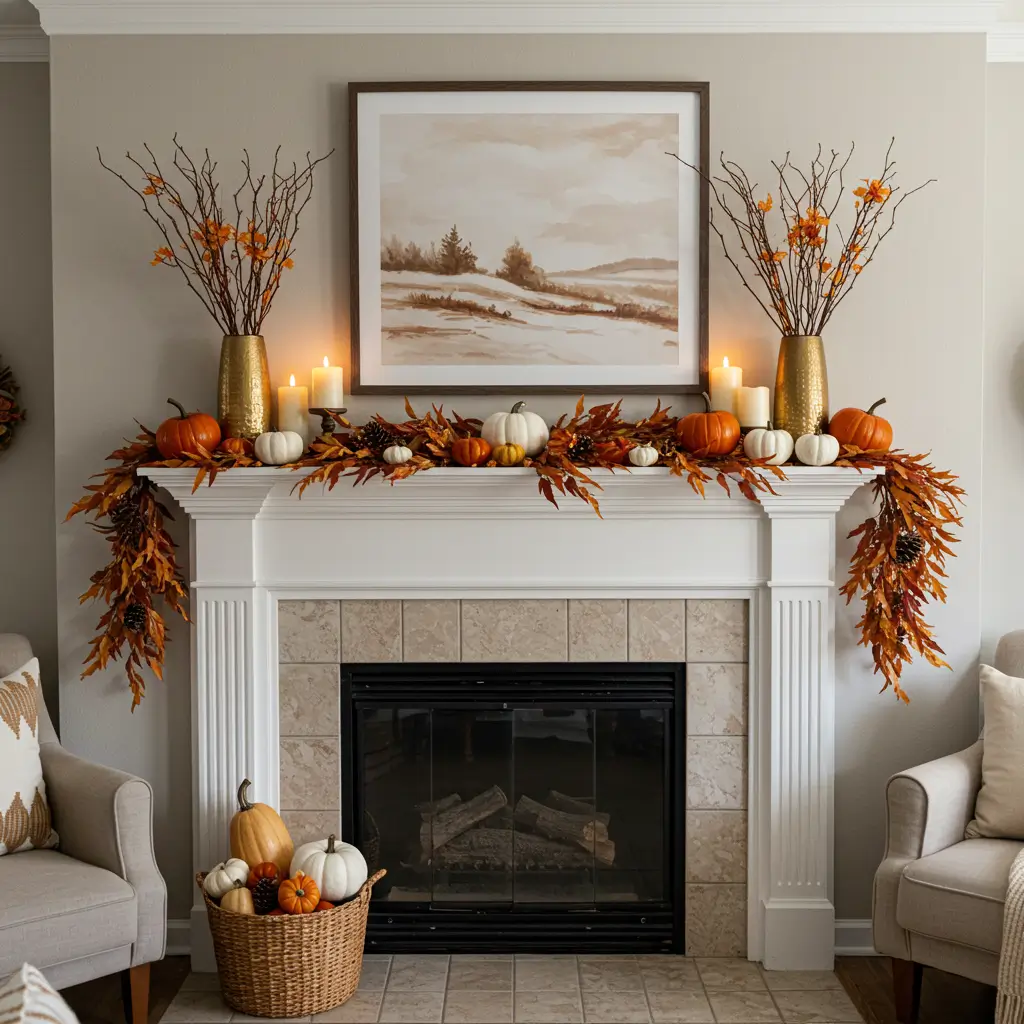
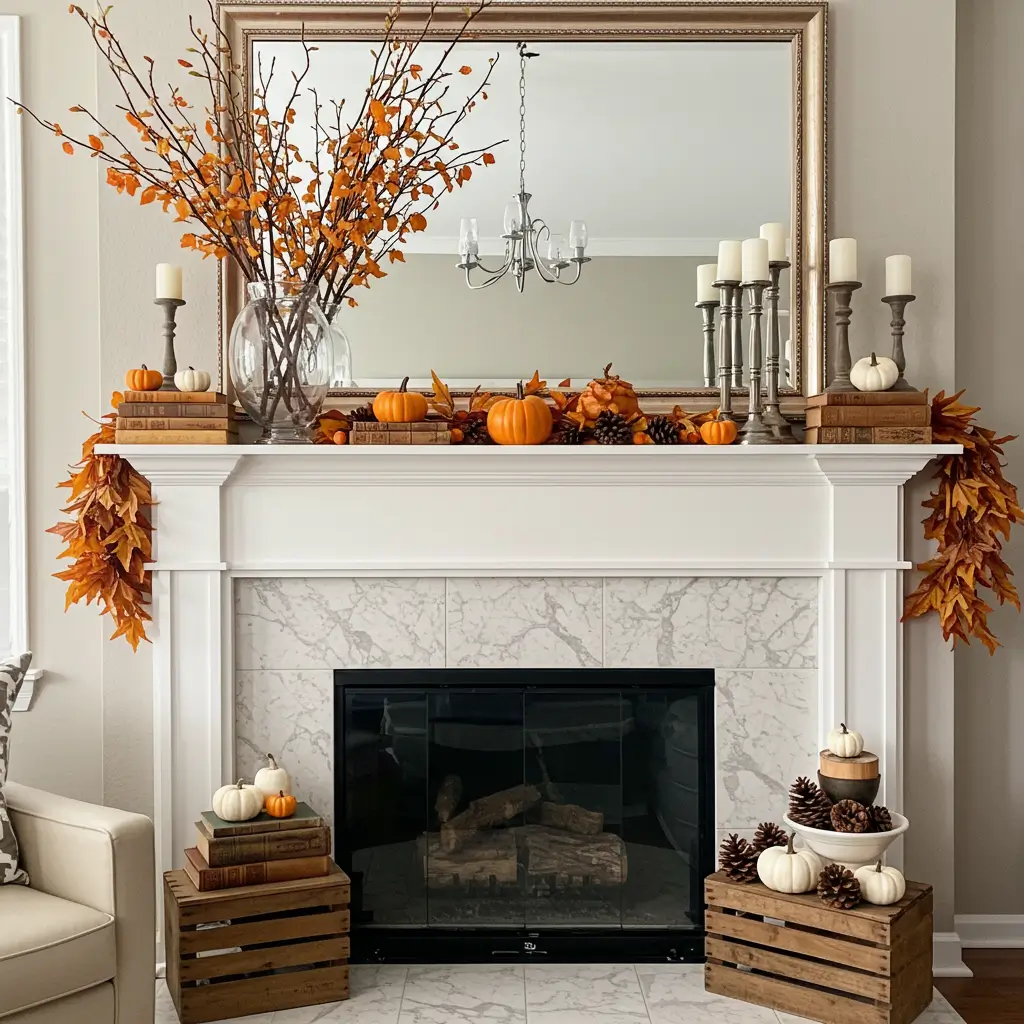
To tie everything together, don’t forget the wall above your mantel — adding a mirror, seasonal artwork, or simple wall decor can frame your arrangement beautifully. This creates a cohesive look that draws the eye upward and makes the whole fireplace area feel complete.
The game-changer for me was learning about visual triangles. I start with my tallest element (usually candlesticks or a tall vase with branches) positioned slightly off-center. Then I create imaginary triangles by placing medium-height items that echo the tallest point.
I always work in odd numbers—it’s more pleasing to the eye and feels more natural. Three candlesticks of varying heights, five small pumpkins clustered together, and seven pinecones scattered throughout.
Layering is crucial. I use books, small wooden crates, or even turned-over ceramic bowls as risers to create different levels. Nothing should be sitting directly on the mantel except for the items in the very front row. This creates depth and makes everything more visually interesting.
The proportion rule I follow is that the tallest item should be about one-third the width of my mantel. My mantel is about 60 inches wide, so my tallest elements are usually around 18-20 inches tall.
Lighting That Creates Magic (Not Fire Hazards)
Let me tell you about the year I nearly set my mantel on fire because I didn’t think about candle safety. We had friends over for dinner, I lit about eight candles, and when I came back from refilling wine glasses, one candle had burned down enough that the flame was licking at some dried corn husks. Mark calmly blew it out, but I learned my lesson about proper spacing that night.
Now I’m much smarter about lighting, but I still believe it’s what transforms a nice display into something truly magical. My lighting strategy combines different sources at varying heights. I use pillar candles in hurricane glasses (safety first!), strings of battery-operated fairy lights woven through garland, and a few small lanterns with LED candles.
For real candles, I stick to unscented ones during the day and save my favorite autumn scents for the evening. My current obsession is a candle that smells like apple cider and woodsmoke—it literally smells like fall in a jar.
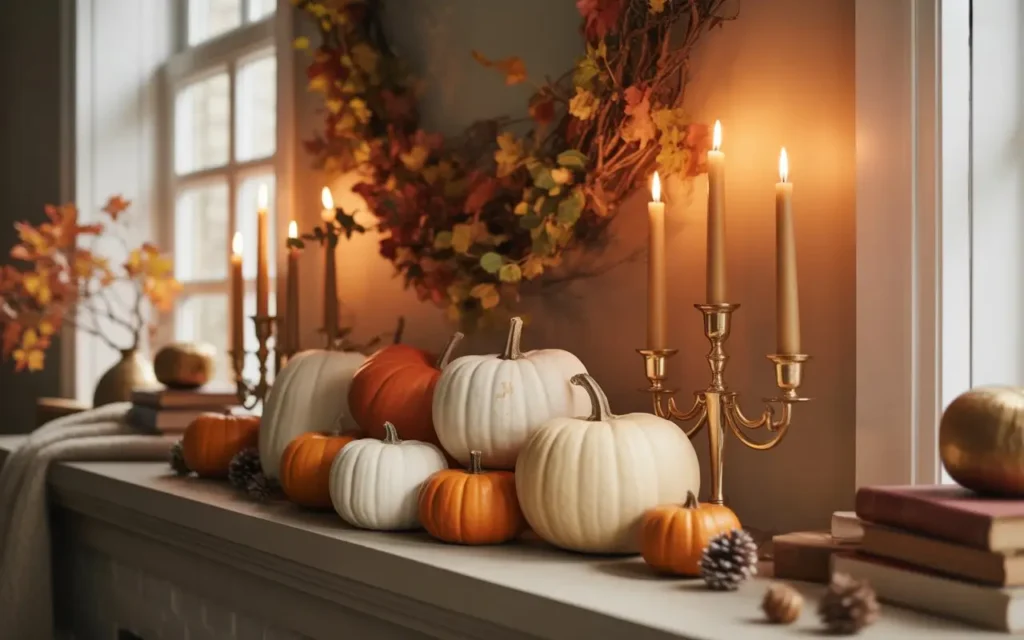
One mistake I made for years was putting all my candles at the same height. Now I vary them dramatically—some tall pillar candles, some short votives, maybe a medium hurricane candle. The different flame heights create such a beautiful, dancing effect when they’re all lit.
Keeping It Fresh Throughout the Season

One thing I love about fall decorating is how you can evolve your display as the season progresses. I start in early September with lighter, harvest-themed elements, then gradually add more Halloween touches, and finally transition some pieces for Thanksgiving.
My base elements stay the same—the candlesticks, the main garland, and the larger pumpkins—but I swap out smaller accent pieces. The key to maintenance is dealing with natural elements before they become problematic. I check my real pumpkins weekly and replace any that are starting to get soft spots.
Here’s something I learned from experience: take photos of your display when you first set it up. After a few weeks of daily life happening around it, things tend to shift, and it’s helpful to have a reference for how you originally arranged everything.
Transform Your Mantel Into Your Autumn Sanctuary
Looking back at my mantel journey—from that first sad attempt with random orange candles to the cozy, layered display I created this year—I’m amazed at how much I’ve learned through simple trial and error. Your fall mantel doesn’t need to look like something from a magazine spread. It should feel like you—your style, your budget, your definition of cozy.
Start with what you have, add a few seasonal elements, and don’t be afraid to move things around until it feels right. I probably rearrange my mantel six times before I’m satisfied, and that’s perfectly normal.
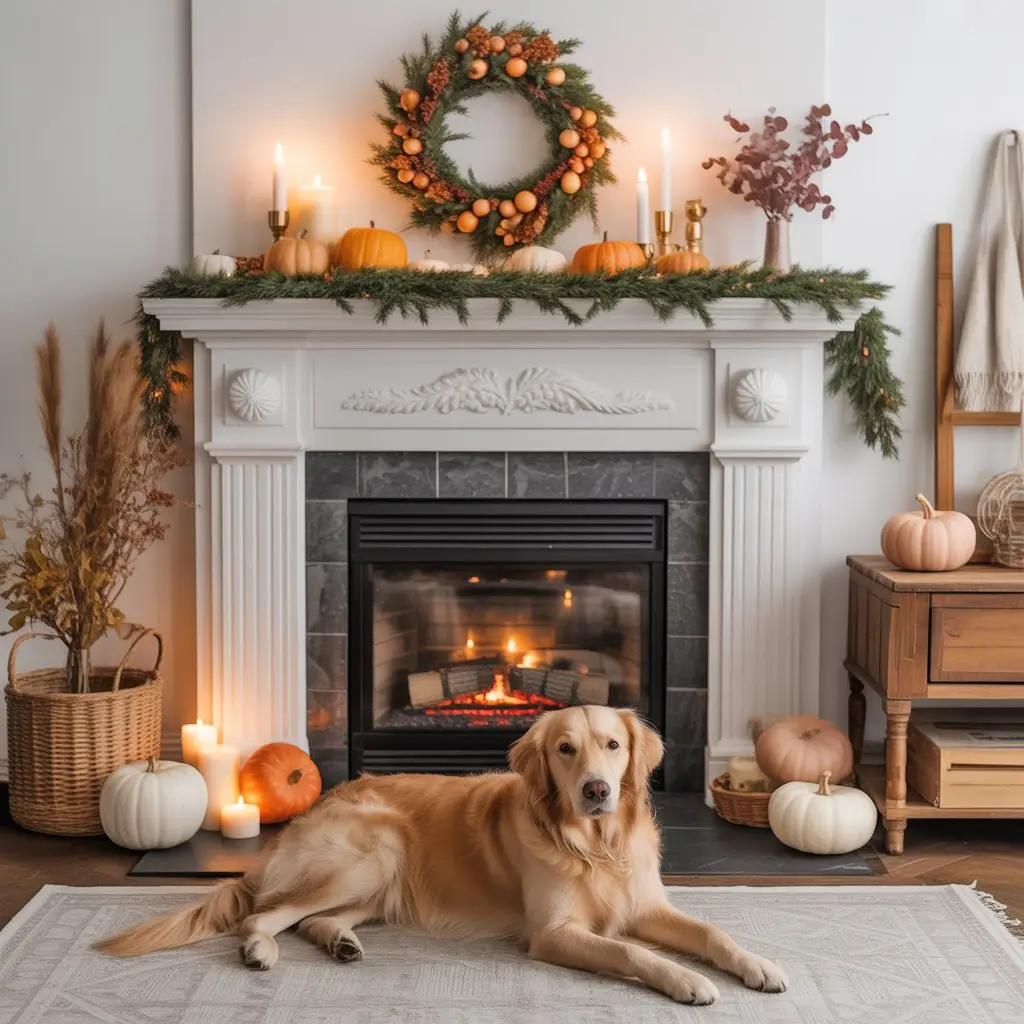
This year, as I lit the candles on my finished mantel for the first time, our golden retriever Biscuit settled in front of the fireplace with a contented sigh. That’s when I knew I’d gotten it right—when even the dog approved of the cozy vibes.
Ready to create your own stunning fall mantel? Start by gathering what you already have at home, then make a quick trip to pick up just 2-3 new seasonal elements. Remember, the most beautiful displays come from layering textures, varying heights, and adding personal touches that tell your story.
I’d love to see your autumn mantel creation! Share photos of your finished display on social media and tag us—there’s nothing I enjoy more than seeing how these ideas come to life in real homes with real families. And if you try any of my DIY projects, definitely let me know how they turn out. Happy decorating, and remember—if your first attempt isn’t perfect, you’re in excellent company!
Want more seasonal decorating inspiration? Subscribe to our newsletter for weekly tips, budget-friendly project ideas, and exclusive tutorials delivered straight to your inbox. Because creating a beautiful, cozy home shouldn’t break the bank or stress you out—it should be the highlight of your weekend.
Frequently Asked Questions
Q: How much should I expect to spend on decorating my fall mantel?
A: You can create a gorgeous fall mantel for $20-50 if you’re smart about it! I’ve done beautiful displays using free yard branches plus a few $3-5 purchases from Target. Start with what you have, add 2-3 new seasonal pieces. My rule: splurge on candlesticks you’ll reuse every year.
Q: Can I use my summer mantel decorations and just add fall touches?
A: Absolutely! I keep my candlesticks, mirrors, and neutral vases year-round, then swap seasonal accents. Those white pieces from summer? Perfect base for pumpkins and autumn garland. Way more budget-friendly than starting over.
Q: How do I avoid a cluttered look?
A: Use the “visual triangle” method – one tall focal point off-center, then medium and small pieces in triangular shapes. Create levels with books or small boxes as risers. And here’s the secret: leave breathing room! Not every inch needs filling.
Q: What if I have a small mantel?
A: Small mantels can be charming! Focus on 3-5 pieces max: one focal point (gourd or lantern), matching candlesticks, maybe trailing garland. Scale is key – choose smaller versions of the same elements.
Q: How long do real pumpkins last, and how do I preserve them?
A: Real pumpkins last 4-8 weeks if treated right. I spray mine with Krylon acrylic sealer – adds weeks to their life. Keep away from heat sources, check weekly for soft spots. Jarrahdale pumpkins last longest!
Q: Is it safe to use candles with kids or pets?
A: With kids and a golden retriever, I rely on battery-operated LED candles and fairy lights for that warm glow without fire risk. Real candles go in hurricane glasses only, and never left unattended.
Q: When should I start and stop decorating for fall?
A: I start early September with harvest elements, add Halloween touches in October, transition to Thanksgiving in November. Remove Halloween pieces after October 31st but keep autumn elements through Thanksgiving. Decorate when it makes YOU happy!