Picture this: I’m standing in my cramped studio apartment, staring at towers of books balanced precariously on every available surface. My coffee table looked like a literary jenga tower, and I was afraid to even sneeze near my makeshift book stacks. Then I discovered floating bookshelves —and honestly, it completely changed my relationship with my space.
If you’re drowning in books but short on floor space, you’re going to love what I learned about creating floating bookshelf walls. Trust me, I was a complete DIY beginner when I started this project, and if I can do it, so can you.
What You’ll Learn in This Guide
- Why floating bookshelves ideas are perfect for small spaces and book lovers
- How much weight different floating shelves can actually hold (this surprised me!)
- Step-by-step installation that won’t leave you pulling your hair out
- Creative styling tricks that make your books look like art
- Common mistakes I made so you can avoid them
Why I Fell in Love with Floating Bookshelves
Let’s be honest —traditional bookcases are space hogs. When you’re working with limited square footage, every inch counts. That’s where floating bookshelves work their magic.
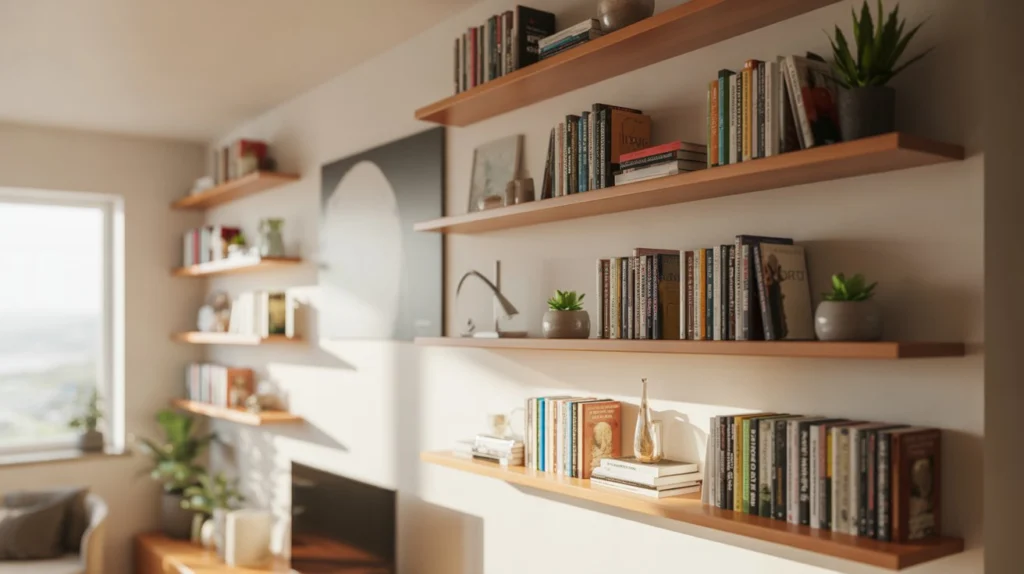
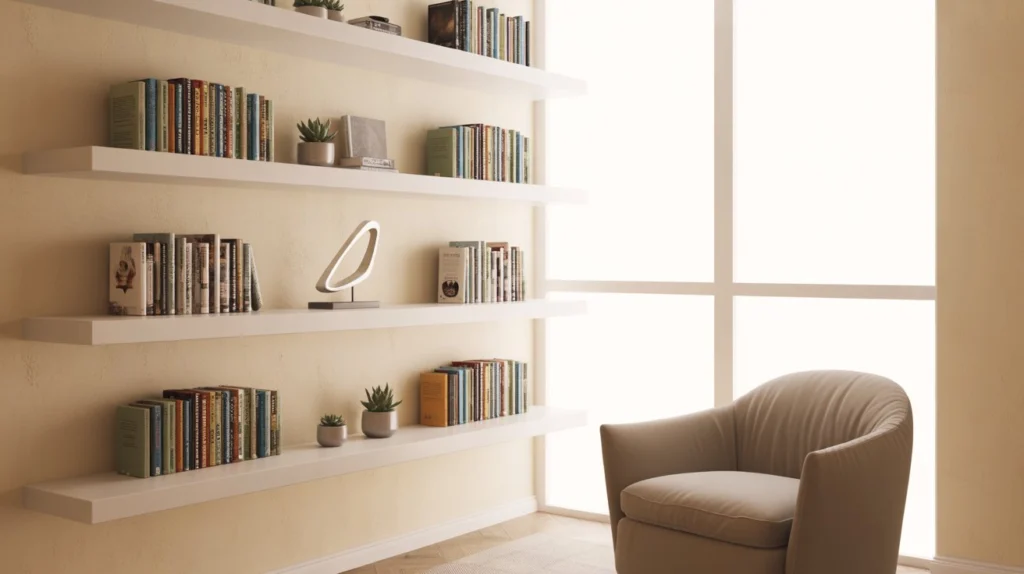
The beauty of floating shelves lies in their ability to create that incredible “books floating in mid-air” illusion. It’s like your favorite novels are defying gravity, and let me tell you, every guest who walks into my place now stops and stares. The clean, minimalist look makes even a small room feel more spacious and airy.
What really sold me was how they turn empty walls into functional art. Instead of staring at blank white walls, I now have a curated display of my favorite books mixed with small plants and decorative pieces. It’s become a conversation starter and, frankly, makes me feel like I have my life together (even when I definitely don’t).
The Weight Question That Kept Me Up at Night
How Much Weight Can a Floating Shelf Hold?
Before I installed my first floating bookshelf, I was terrified it would crash down in the middle of the night, burying me in an avalanche of paperbacks. So I did my homework on weight limits —and you should too.
Here’s what I discovered about floating shelf weight capacity:
Basic wall-anchored shelves typically hold 15-30 kg per shelf. That’s roughly 30-60 paperback books or 15-25 hardcovers. Perfect for my romance novel collection, but I had to be strategic about where I put my hefty art books.
Heavy-duty brackets can support 40 kg or more per shelf. These are your friends if you’re dealing with textbooks, coffee table books, or that complete works of Shakespeare that weighs as much as a small child.
When properly reinforced, DIY plywood shelves—which is what I first considered—can support roughly 10–25 kg. I soon saw that this wasn’t the best course of action for me; I needed something that would work every time..
Here’s the crucial part: your wall material matters enormously. Drywall requires different anchors than plaster or brick. I learned this the hard way when my first attempt resulted in a lovely hole in the wall and a very understanding landlord.
Safety First: What I Wish I’d Known Before Starting
I’ll be brutally honest —I almost skipped the safety research because I was so excited to get started. Don’t make my mistake. Taking shortcuts with wall-mounted shelves is asking for trouble.
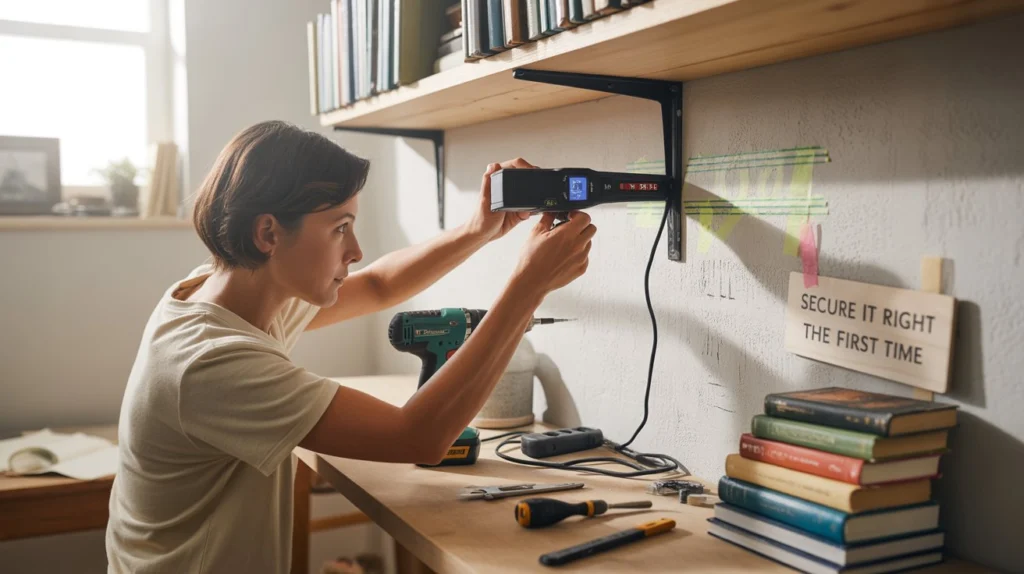
The first thing you absolutely must do is find your wall studs. I invested in a basic stud finder (about $15), and it was worth every penny. Wall studs provide the strongest anchor points, and trust me, you want maximum strength when you’re mounting shelves full of books.
Choose the right anchors for your wall type. I spent way too long in the hardware store staring at different anchors before asking for help. The staff taught me about toggle bolts for hollow walls and masonry anchors for brick —knowledge that saved me from disaster.
Verify the weight ratings on your hardware and brackets at all times. I erred by believing that all floating shelf brackets were built equally.. They’re not. Invest in quality hardware —it’s not worth risking your books (or your security deposit) on cheap brackets.
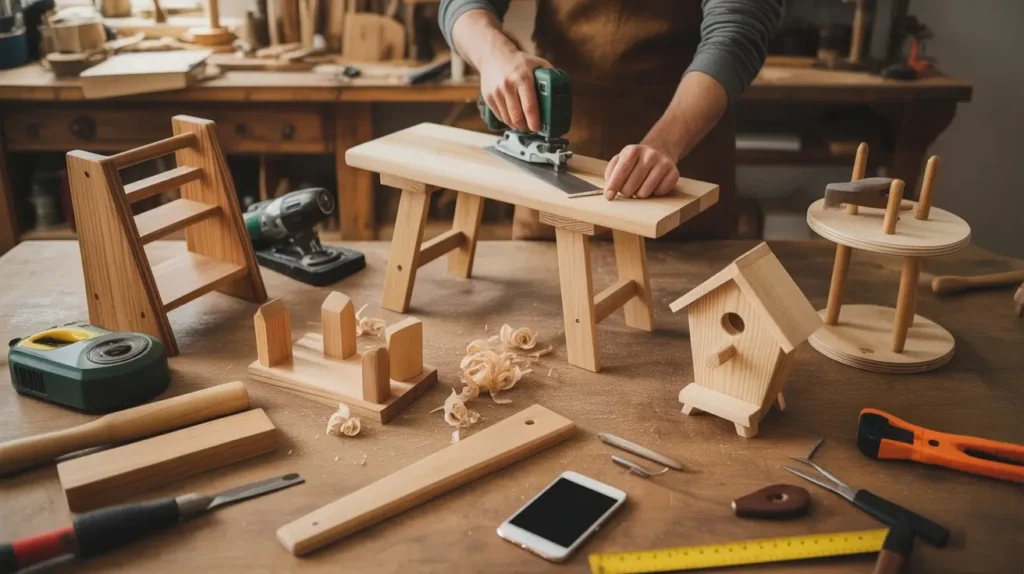
My Step-by-Step Installation Journey
I won’t lie —I was nervous about drilling holes in my wall. But breaking it down into steps made it manageable, even for someone whose previous DIY experience was limited to assembling IKEA furniture.
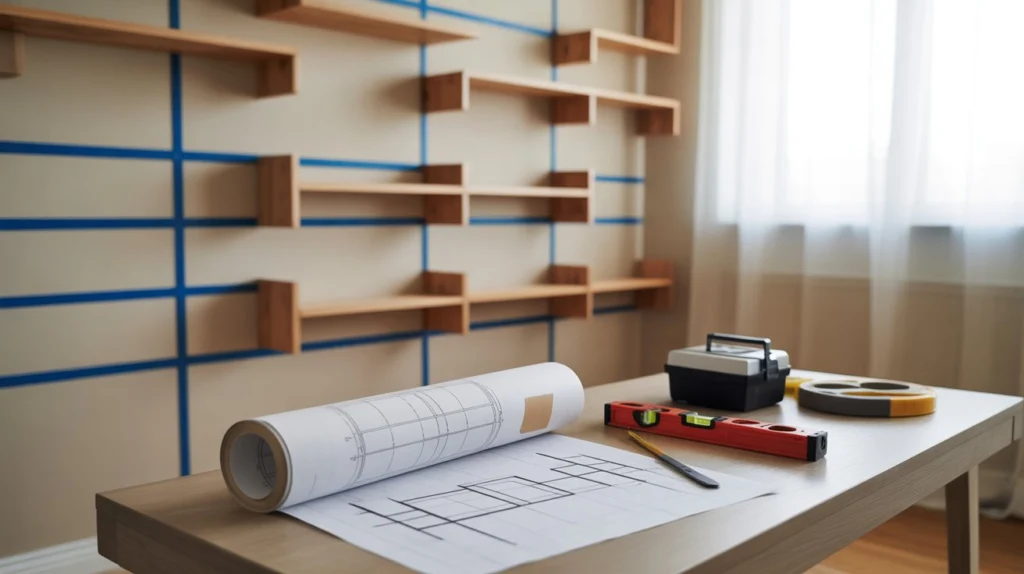
Step 1: Design and Measure
I sketched my ideal shelf arrangement on paper first. This saved me from the “measure twice, cut once” headache later. I used painter’s tape to mark spots on the wall and lived with it for a few days to make sure I liked the layout.
Step 2: Drill Carefully
Pre-drilling holes was terrifying but essential. I followed the hardware specifications exactly and went slowly. The key is steady pressure and letting the drill do the work.
Step 3: Install Brackets
This is where finding those wall studs paid off. Securing the brackets felt incredibly satisfying —like I was actually becoming a real adult who could mount things properly.
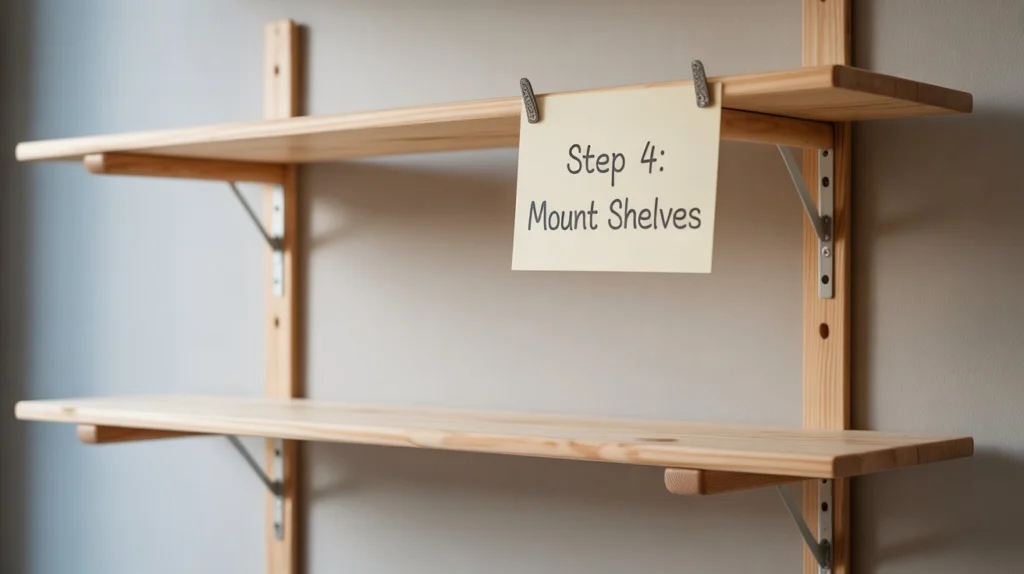
Step 4: Mount Shelves
The moment of truth! Sliding the shelves onto the brackets and feeling that secure fit was honestly thrilling. I may have done a little victory dance.
Step 5: Style and Test
I started with lighter items and gradually added weight, testing as I went. Pro tip: place heavier books closer to the wall for better weight distribution.
Creative Styling That Actually Works
Installing the shelves was only half the battle —styling them was where the real fun began. After lots of trial and error (and maybe a few books falling off), here’s what I learned works:
Mix vertical and staggered shelf heights for visual interest. I thought symmetry would look best, but the staggered approach creates a more dynamic, lived-in feel that’s way more engaging.
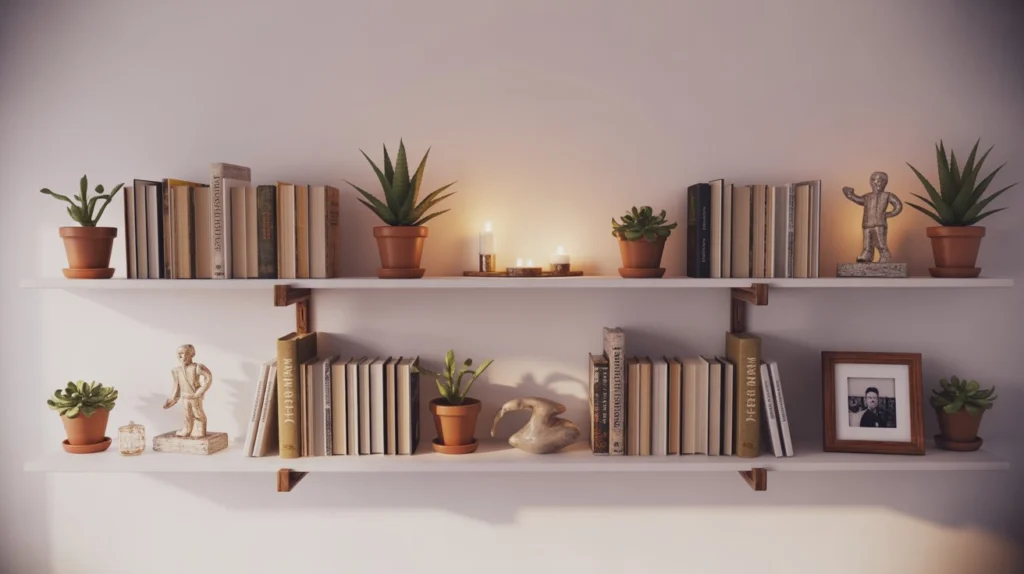
Combine books with plants, small vases, and art pieces. My floating shelves aren’t just book storage —they’re a curated display. A small succulent here, a vintage camera there, and suddenly my books look like they belong in a magazine.
Color-coordinate your book spines if you’re feeling ambitious. I organized one shelf by color gradient, and it looks absolutely stunning. Though I’ll admit, finding a specific book now requires some detective work.
Common Floating Shelf Mistakes (I Made These!)
Let’s talk about my failures, because they’ll save you time and frustration.
Sagging shelves were my first major problem. I loaded them too enthusiastically without considering weight distribution. The fix? I redistributed items and added stronger brackets to the heavily loaded shelves.
Uneven boards made my carefully arranged books look like they were sliding off. I had to re-level and fully tighten all screws. A spirit level became my best friend during this project.
Wall damage happened when I tried to rush the anchor installation. Take your time, use the right anchors for your wall type, and never overload your shelves beyond their rated capacity.
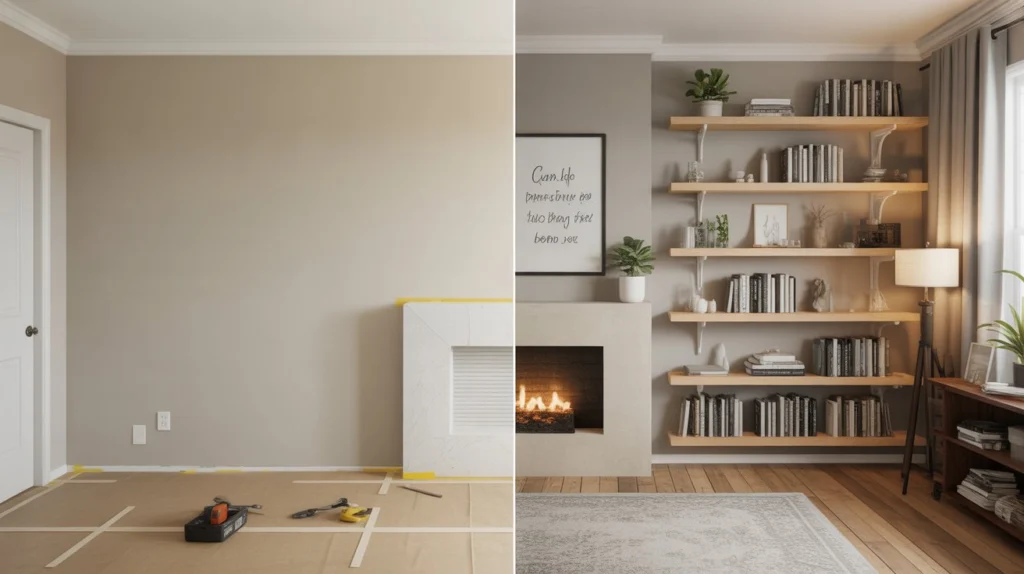
The Transformation That Surprised Everyone
Six months later, my floating bookshelf wall has become the focal point of my apartment. Friends ask for advice, my Instagram posts get more likes, and honestly, I just feel more organized and intentional about my space.
What started as a practical solution to a storage problem became a creative outlet that reflects my personality. Every time I look at my floating bookshelves, I remember that I built something beautiful and functional with my own hands.
The best part? This project works for any space – tiny apartments, spacious homes, awkward corners, or that weird wall that never seemed to have a purpose. Floating bookshelves can grow with your collection and adjust to your needs.
Ready to Start Your Own Floating Bookshelf Project?
If you’re feeling inspired to transform your own space, start small. Pick one wall, choose a few quality shelves, and take your time with the installation. Remember, this isn’t a race – it’s about creating something that brings you joy every time you see it.
The tools, brackets, and know-how are all within reach. What you need now is the confidence to start drilling those first holes (carefully, of course).
I’d love to see your floating bookshelf creations! Share photos of your project in the comments below, and don’t hesitate to ask questions —I remember being exactly where you are now. Tag me on social media with your before and after photos, or drop me an email with your success stories. There’s nothing I love more than seeing someone else discover the magic of floating bookshelves.
Your books are waiting to float, and your walls are ready to become art. What are you waiting for?